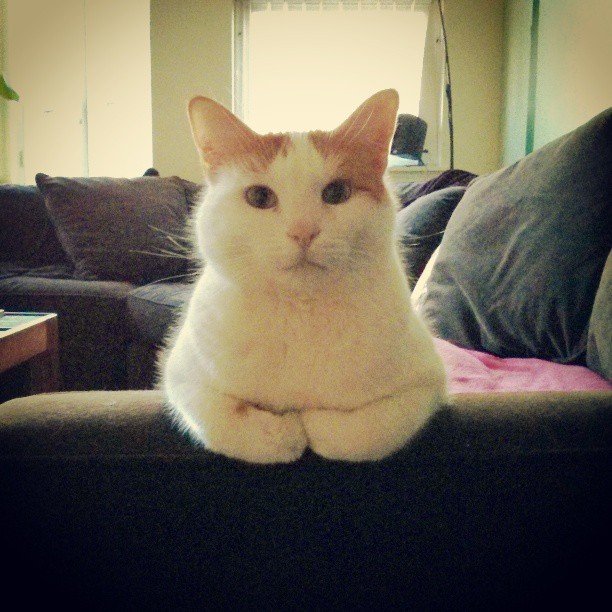
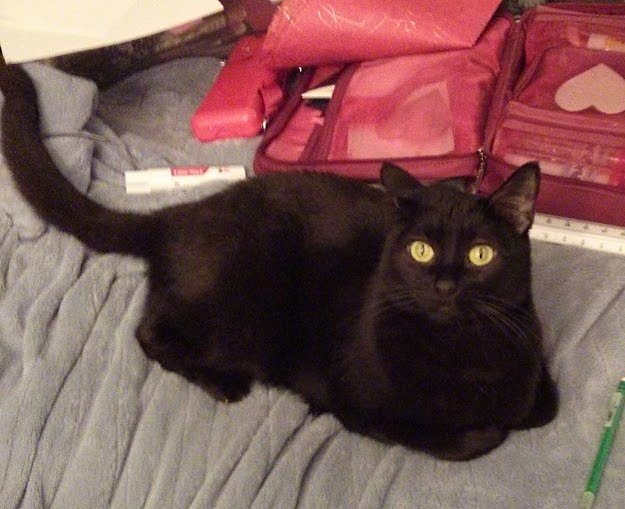
This is Paper Napkin, he is a cat. He is fat. He is a ‘drooler.’ I love him, and my friends love him… so much that he has become an icon. He appears on news feeds, celebrates his birthday on April Fool’s Day, and is the subject of the yearly birthday card for my friend LR.
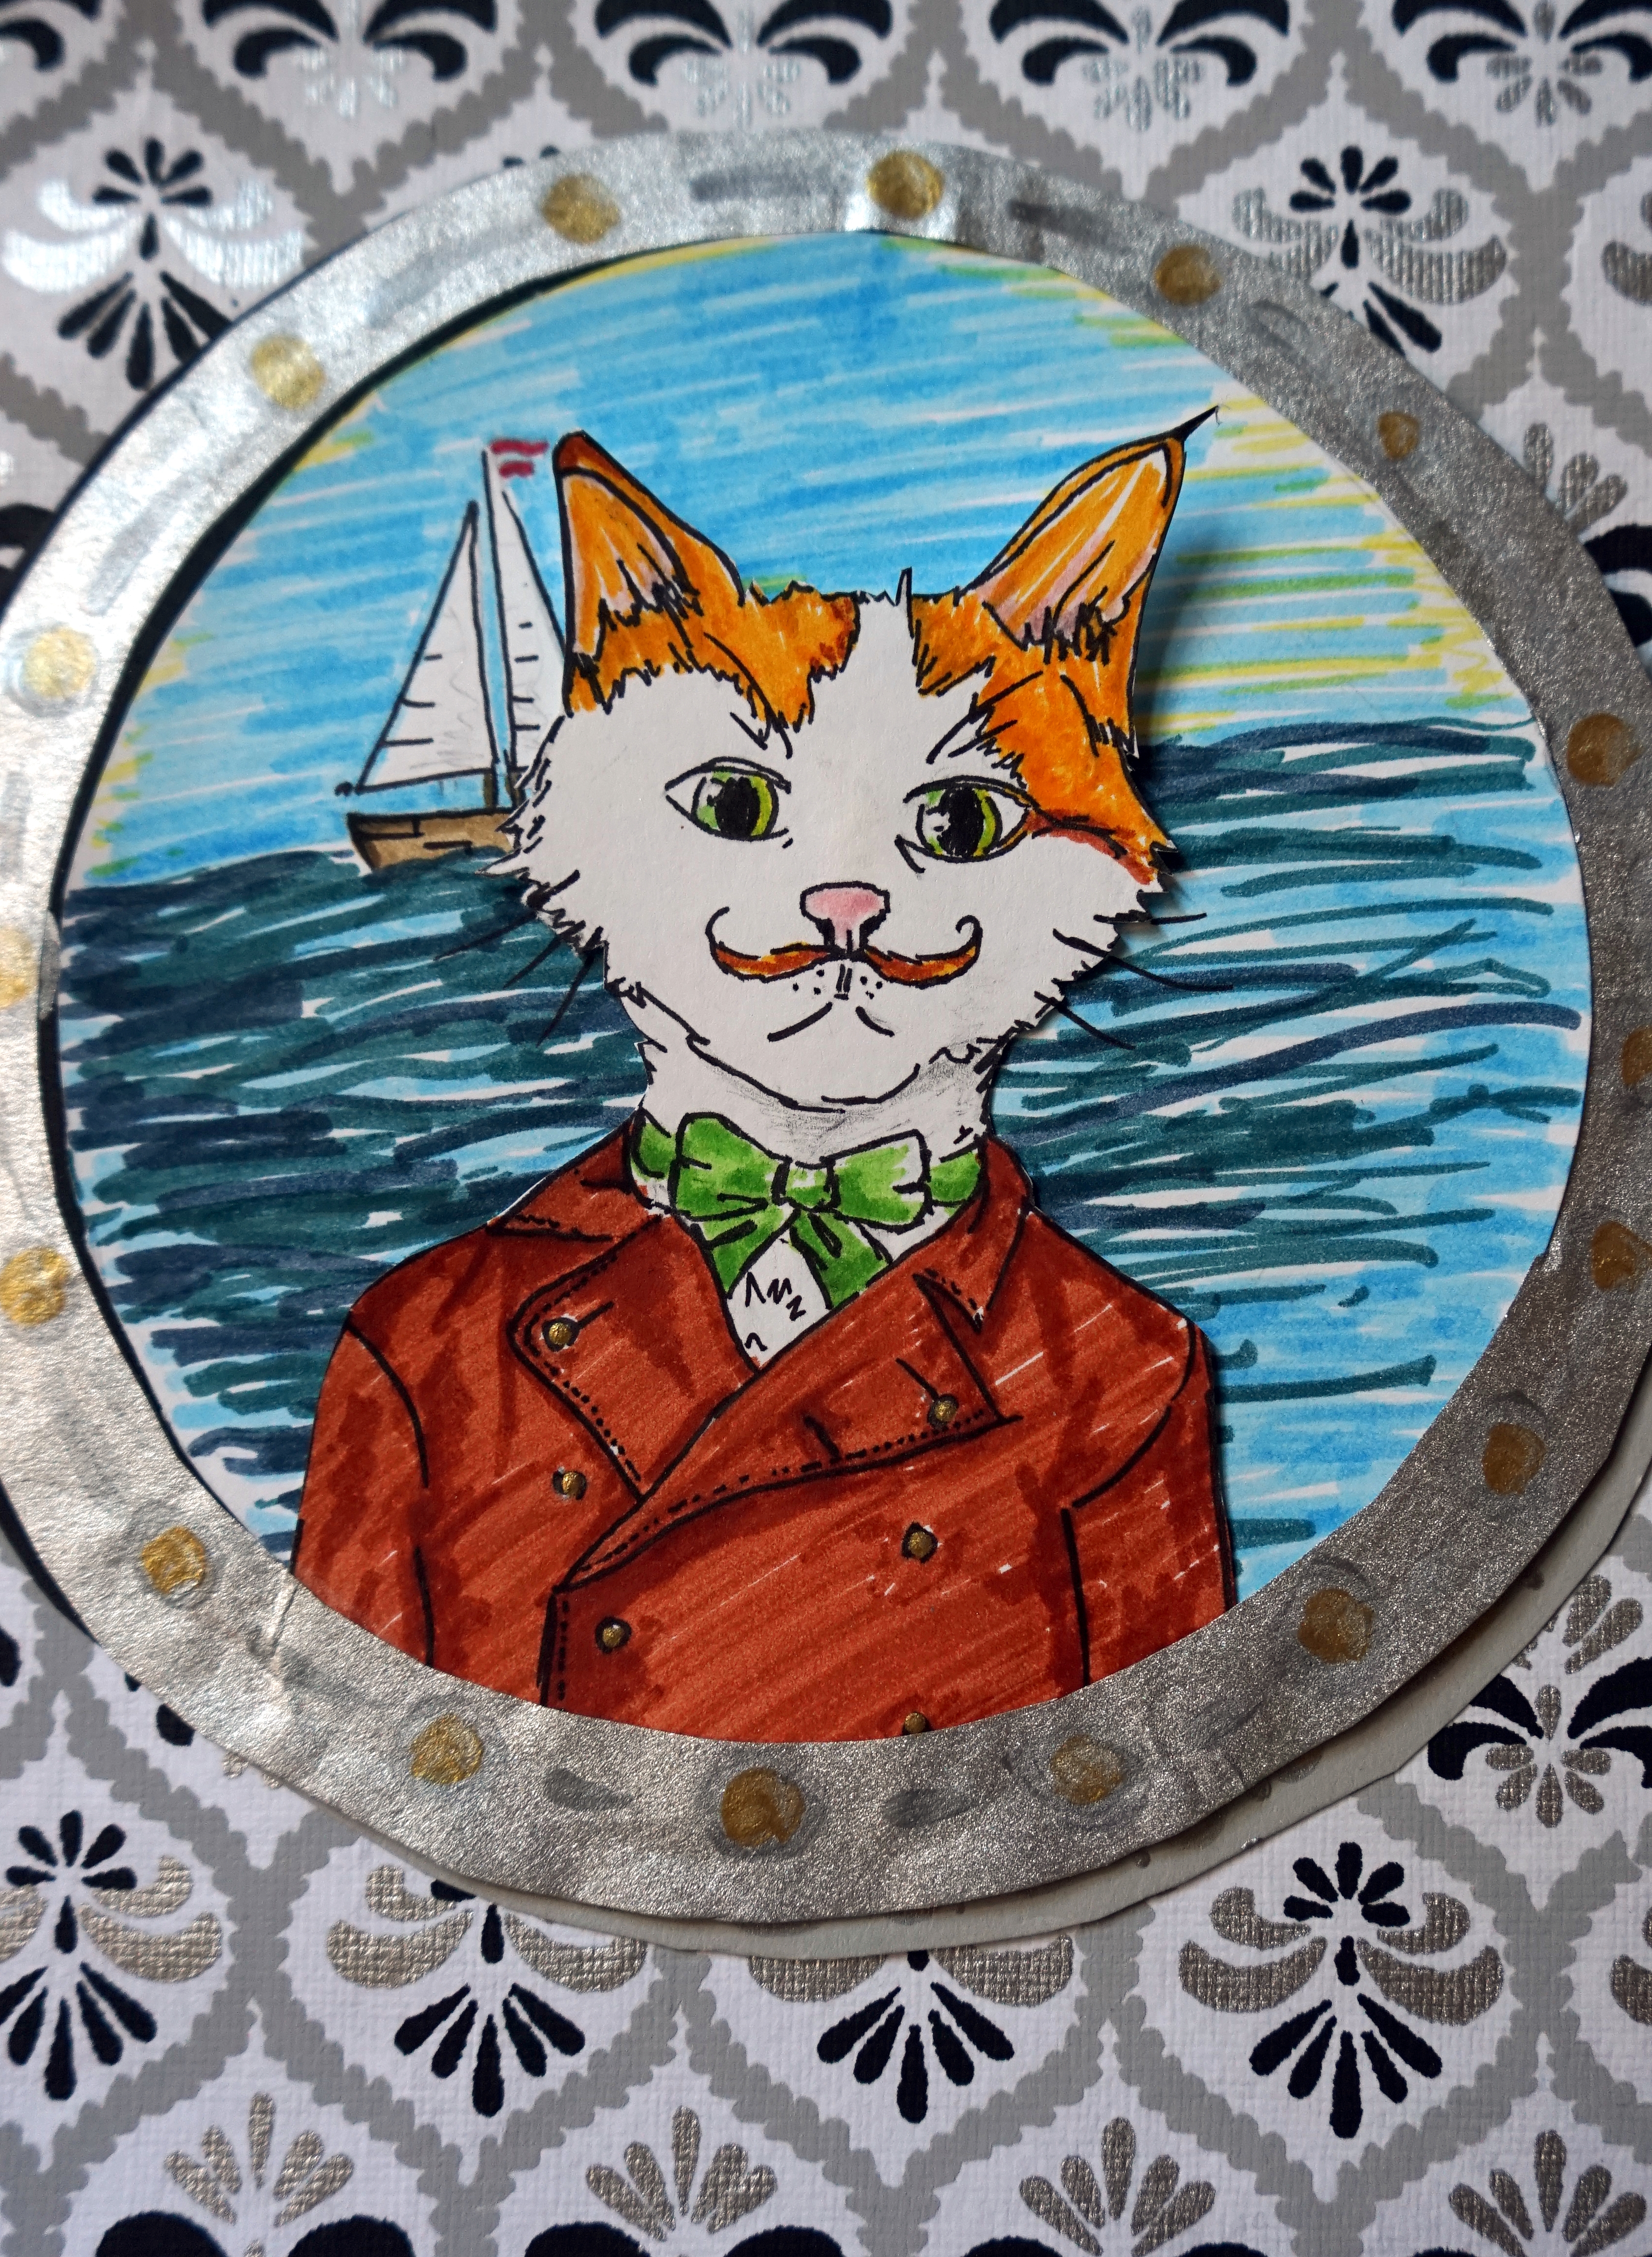
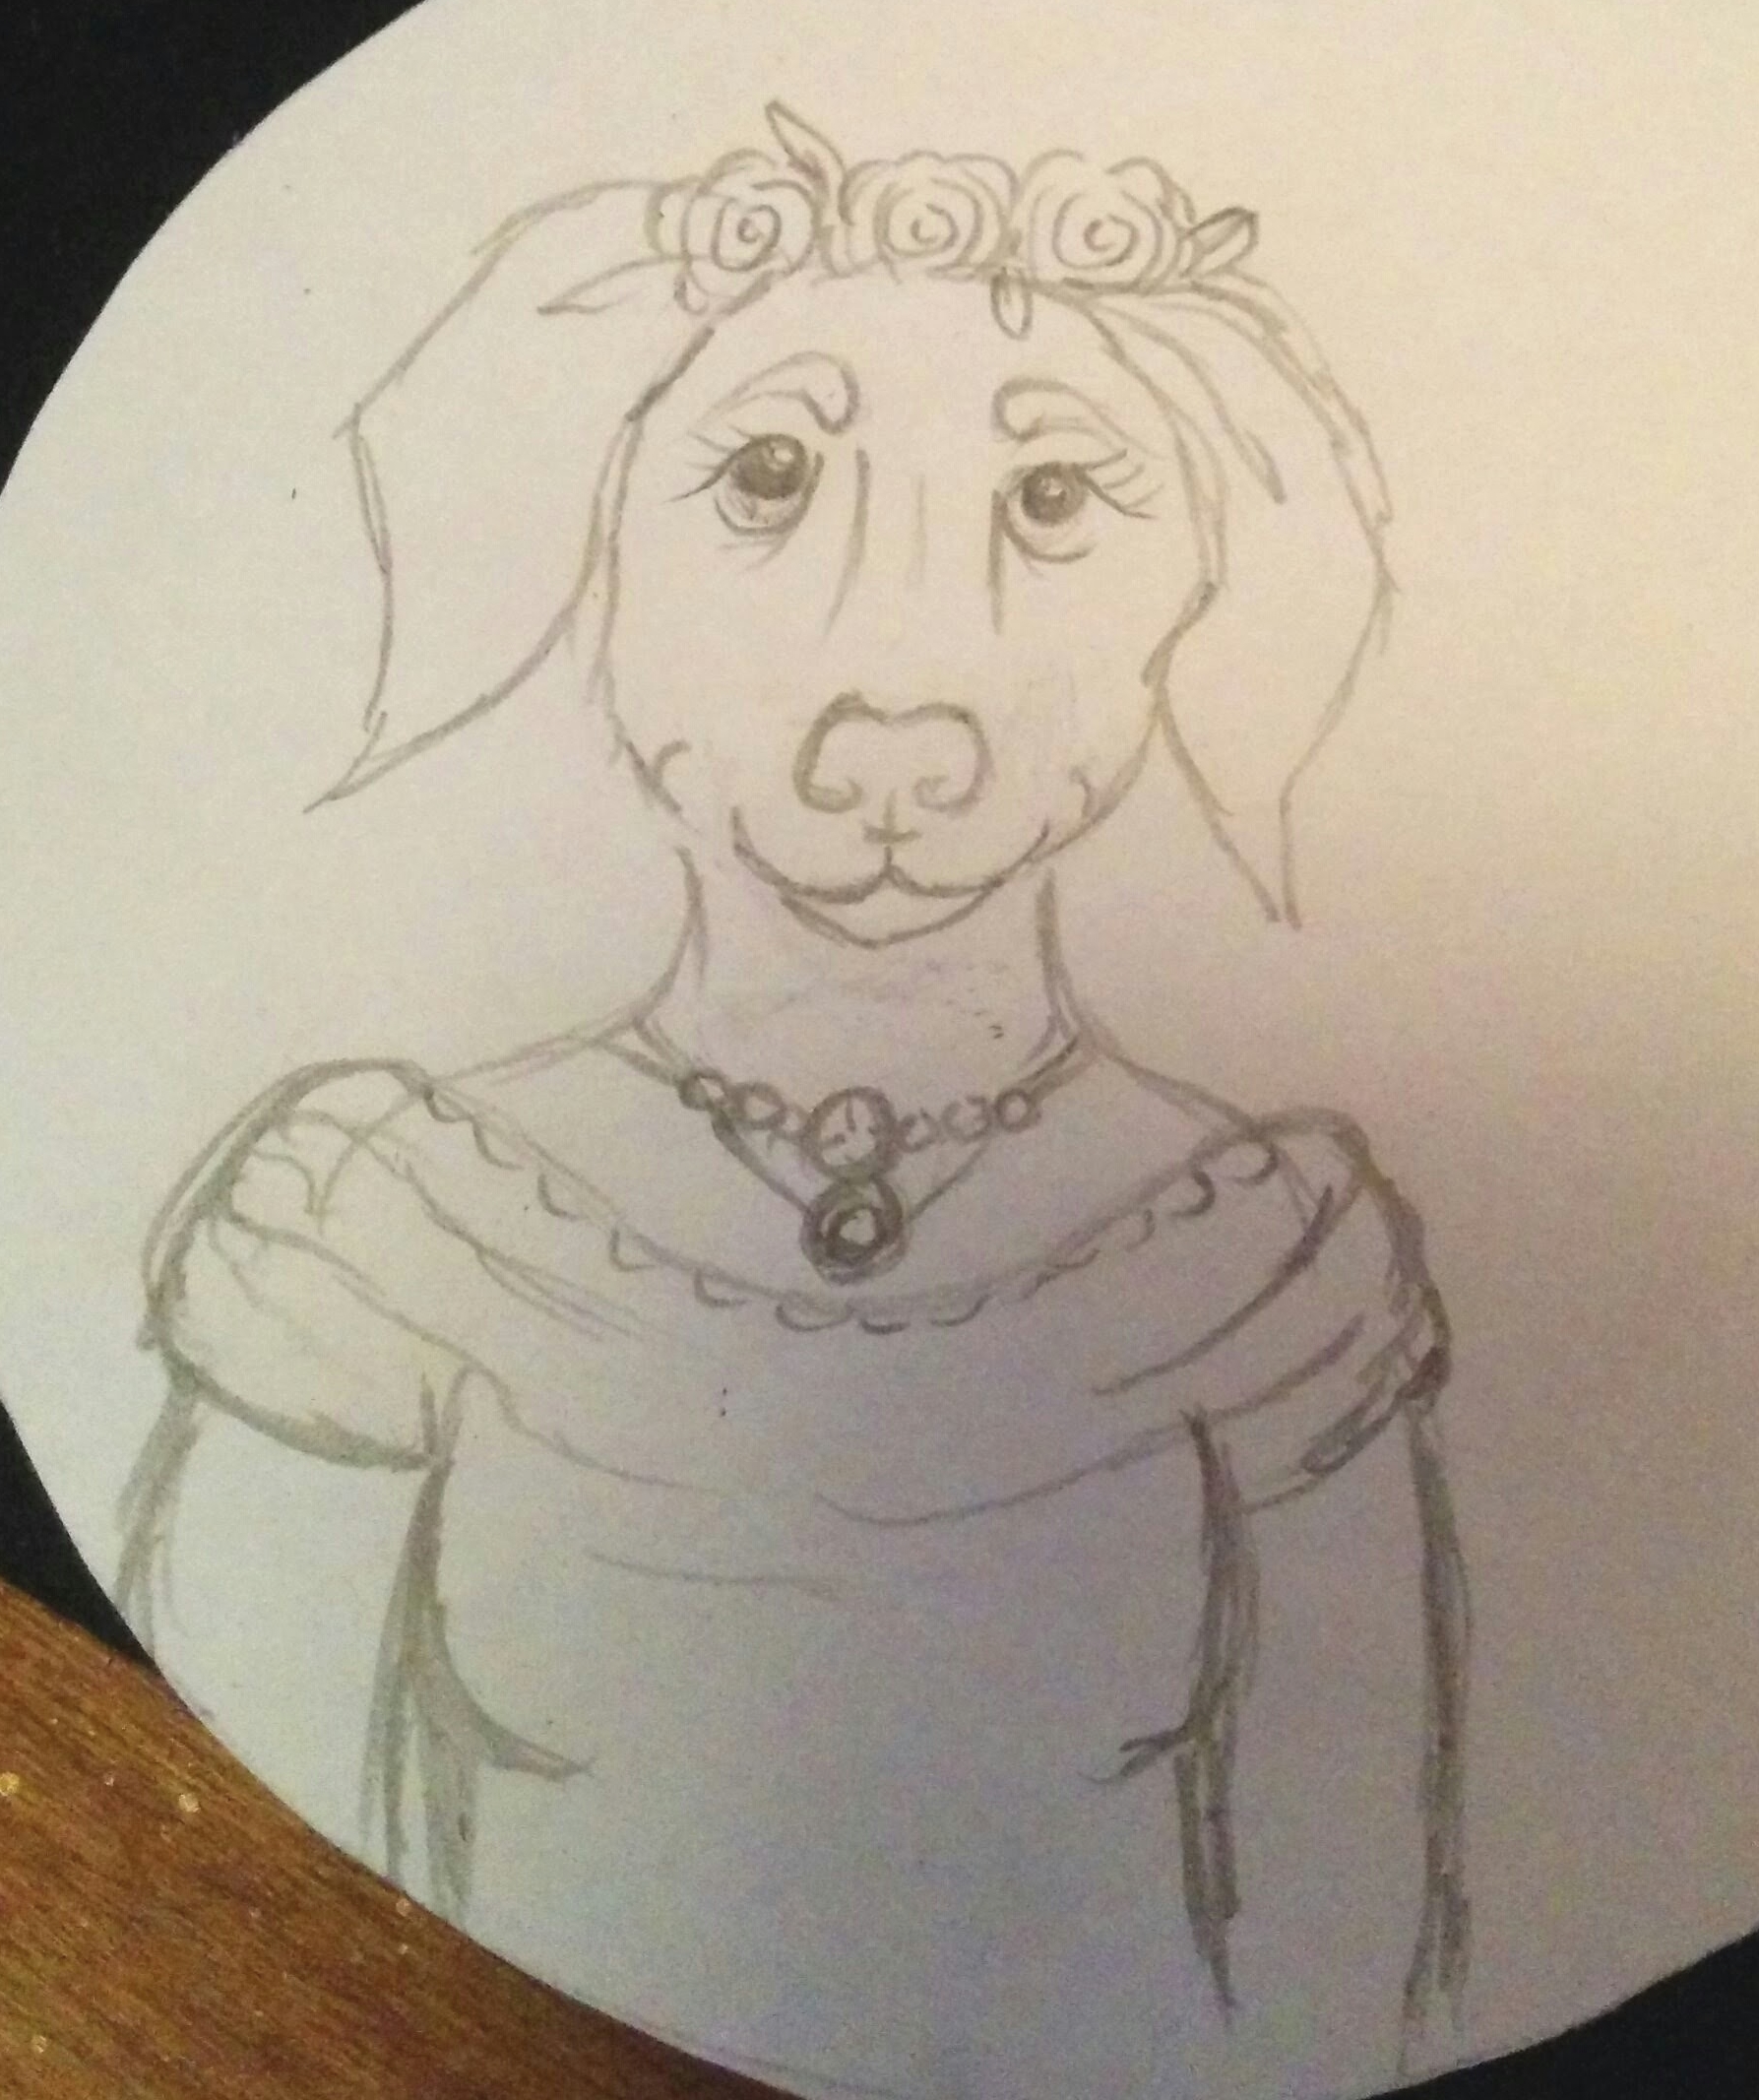
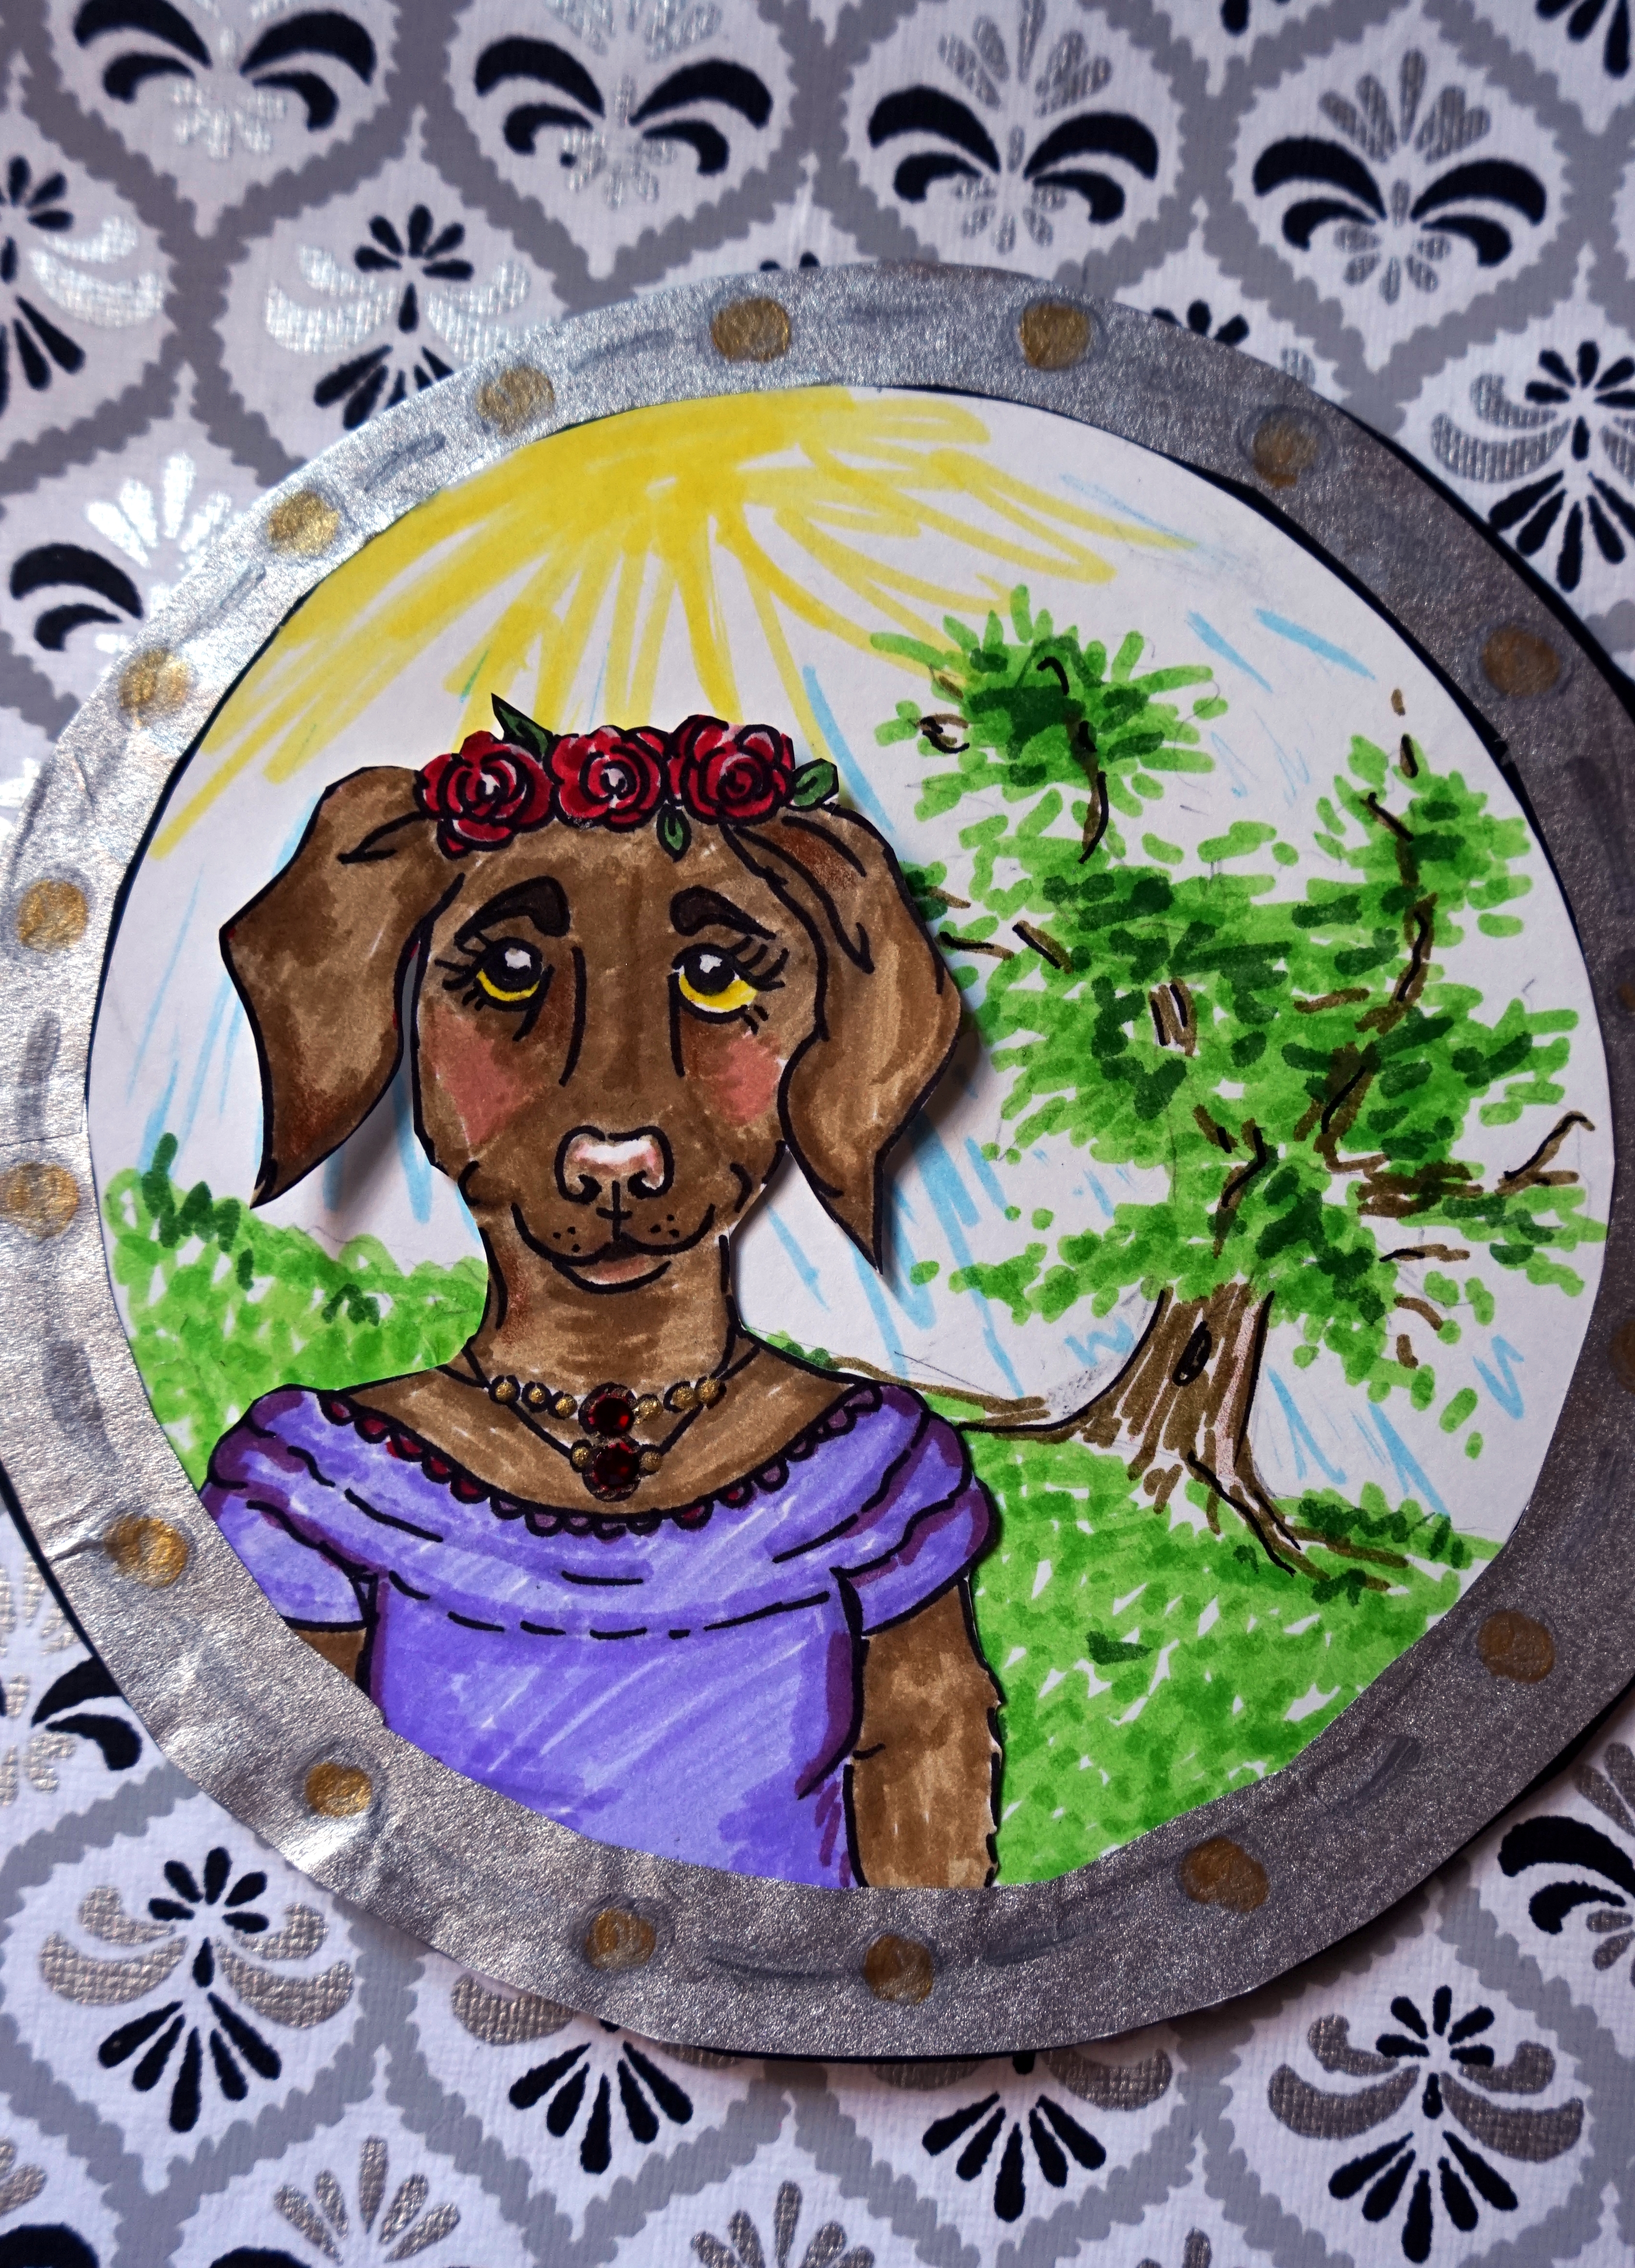
This year the theme was a kind of locket that held portraits two important pets; Napkin, and Riley. Riley is a giant otter chocolate lab and senior citizen, with an unsinkable heart of gold.
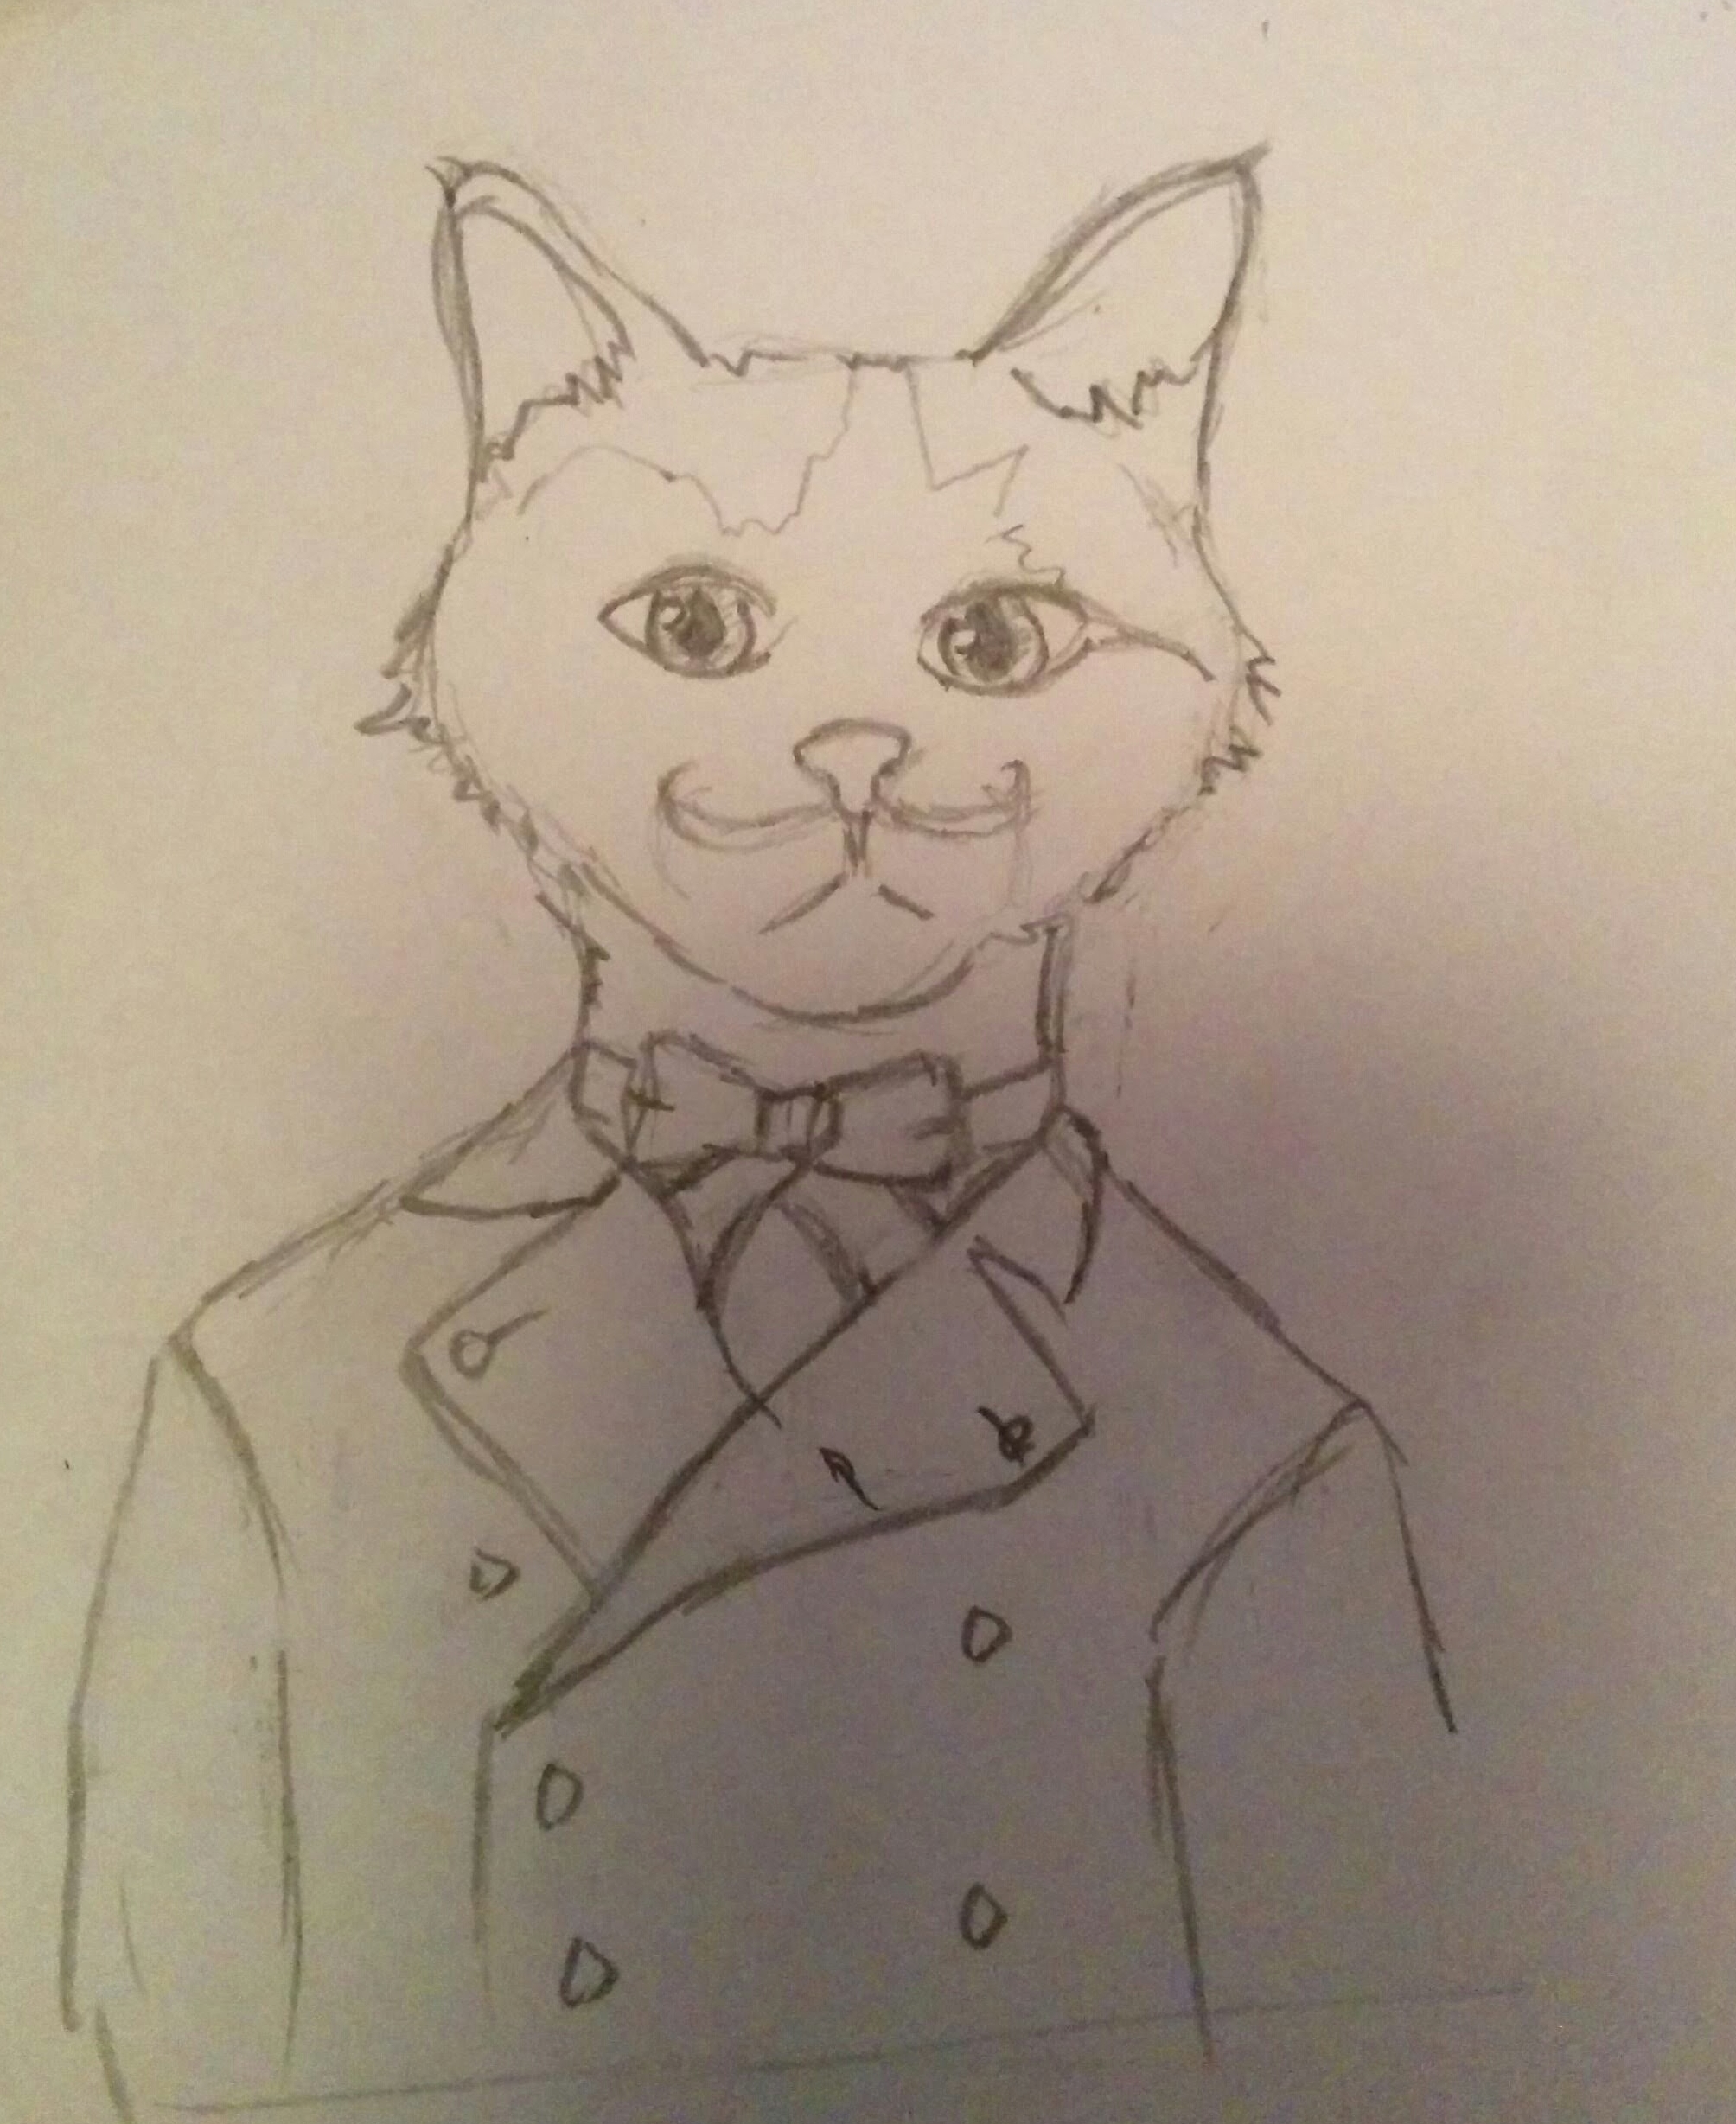
Per my usual I was going to take this sketch and recreate it with card stock.. but I decided that I rather liked my sketch and opted to ink and color the fuzzy, fat bastard.
Upon finishing the portrait, I think that was a rather good idea. He looks so damn dapper, and handsome. You’d never think that this fellow would attempt to eat you out of house and home at every opportunity.
Next was Riley, she needed to be more feminine and pretty… and who doesn’t want to draw eyelashes on a dog? I mean, really… it’s adorable.
She got the same treatment as Naps, but with a few added gold paint details and Swarovski jewels.
She makes a lovely little Victorian lady.
I did want the characters to really pop on the backgrounds, so I cut them out and overlayed them with a small folded piece of paper glued under the head for depth. I like the shadow it creates. I’m not great at drawing shadow, so I feel like this is kind of a cheat.
So there you go, another year of LR bday card nonsense out of the way… but what about next year?
…wait..wait…I know what you’re thinking, what does the girl who can’t eat chocolate know about brownies?’ Geez, shut up your loud-mouth mind for two seconds and I’ll tell you!* About 3 years ago; before I found out I had a ‘sensitivity’ to chocolate, I ate it every day. Seriously, I am going to have diabetes by next year. (just kidding…maybe…oh my god)
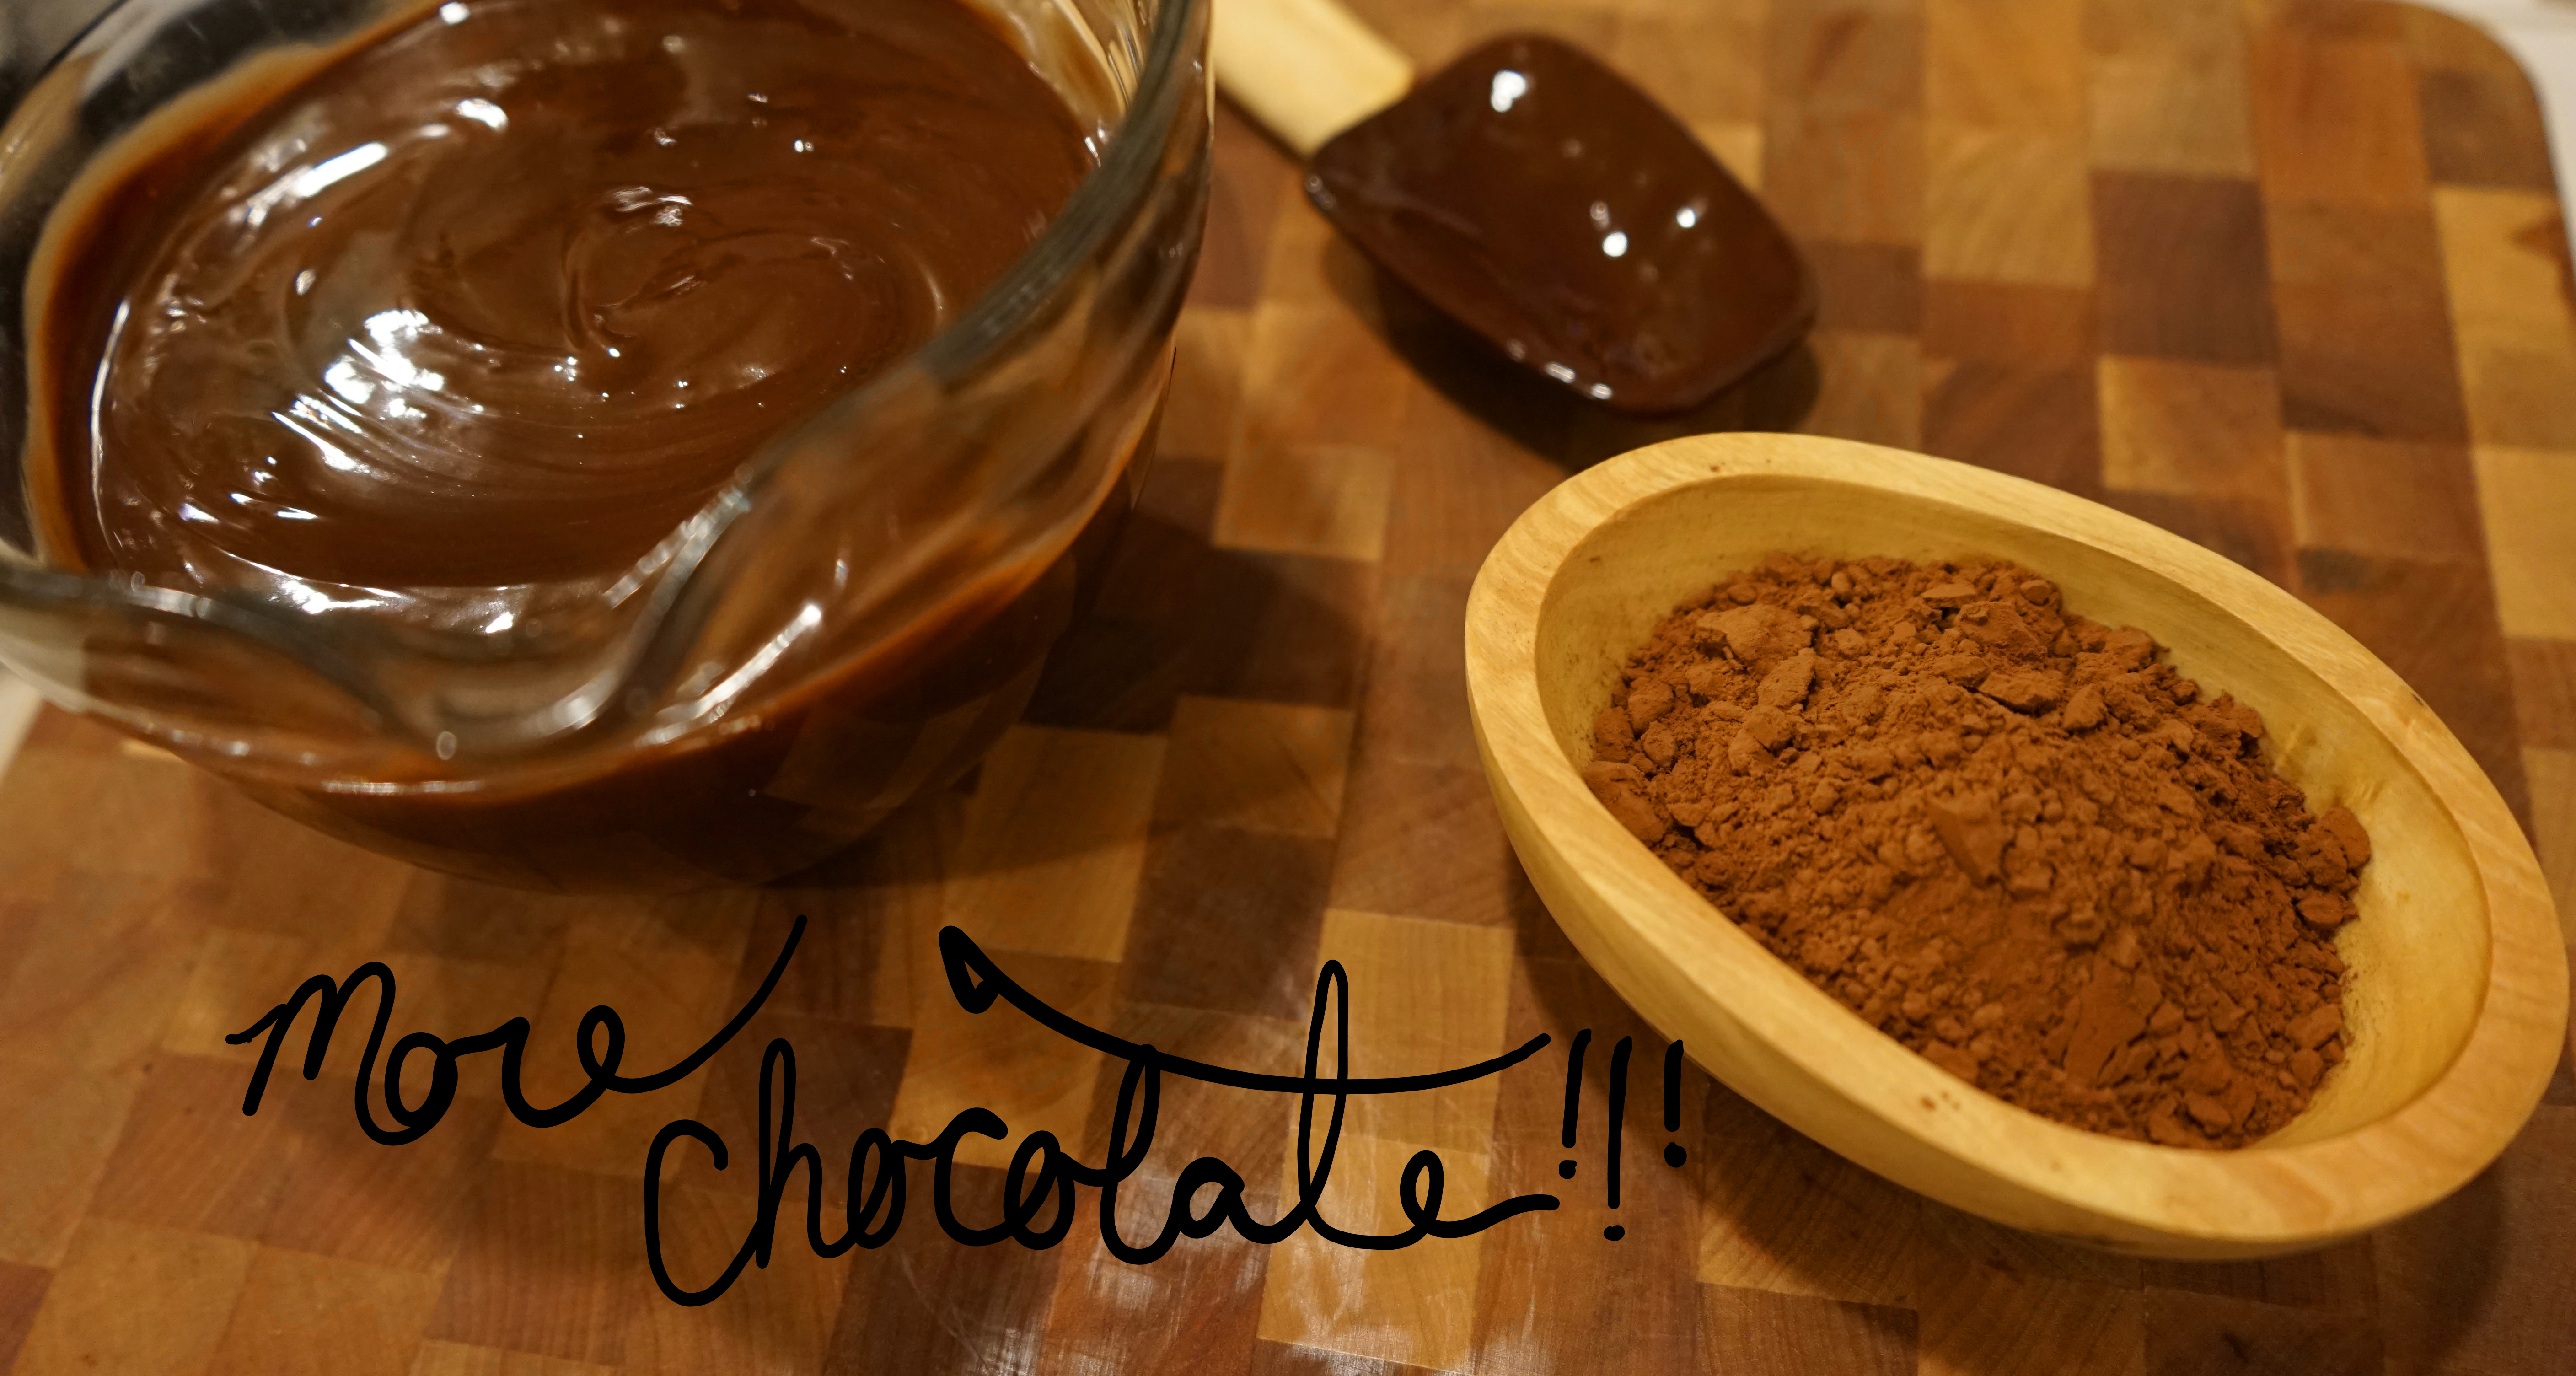
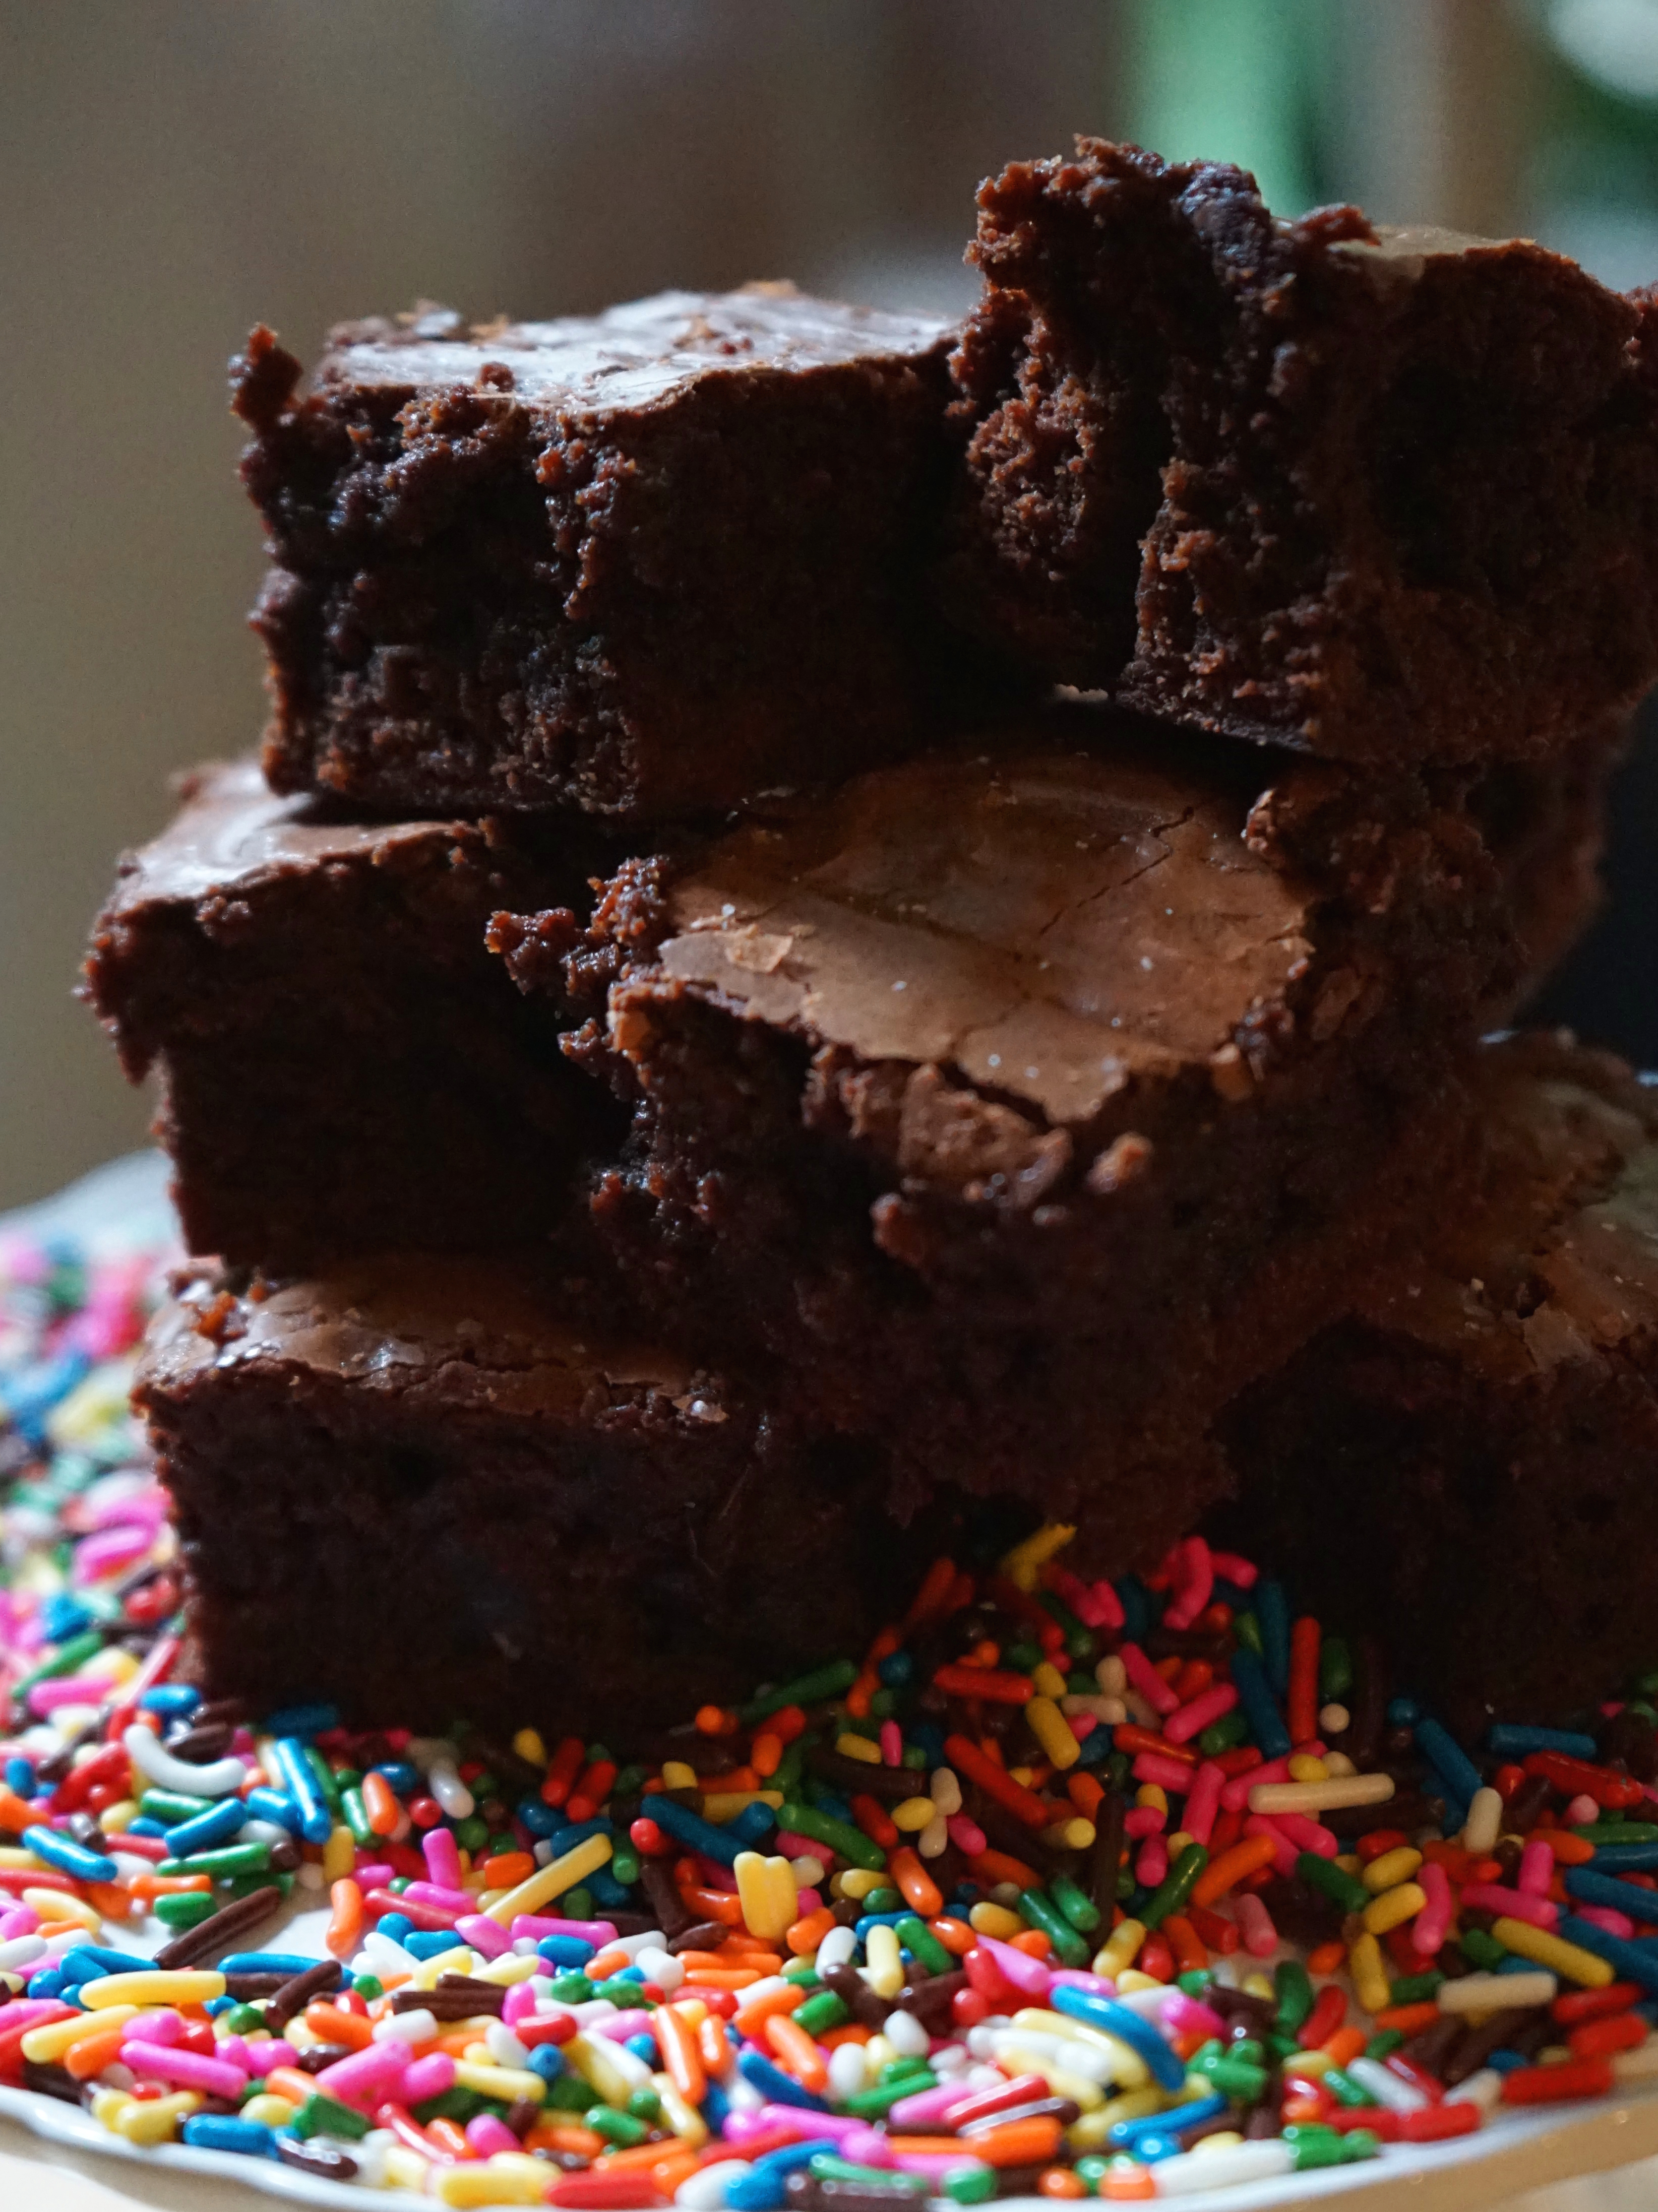
These brownies have 3 different types of chocolate!…any decent brownie recipe should have at least cocoa powder AND melted chocolate. The combination adds a depth of chocolate flavor which = extra chocolaty brownie in your face.
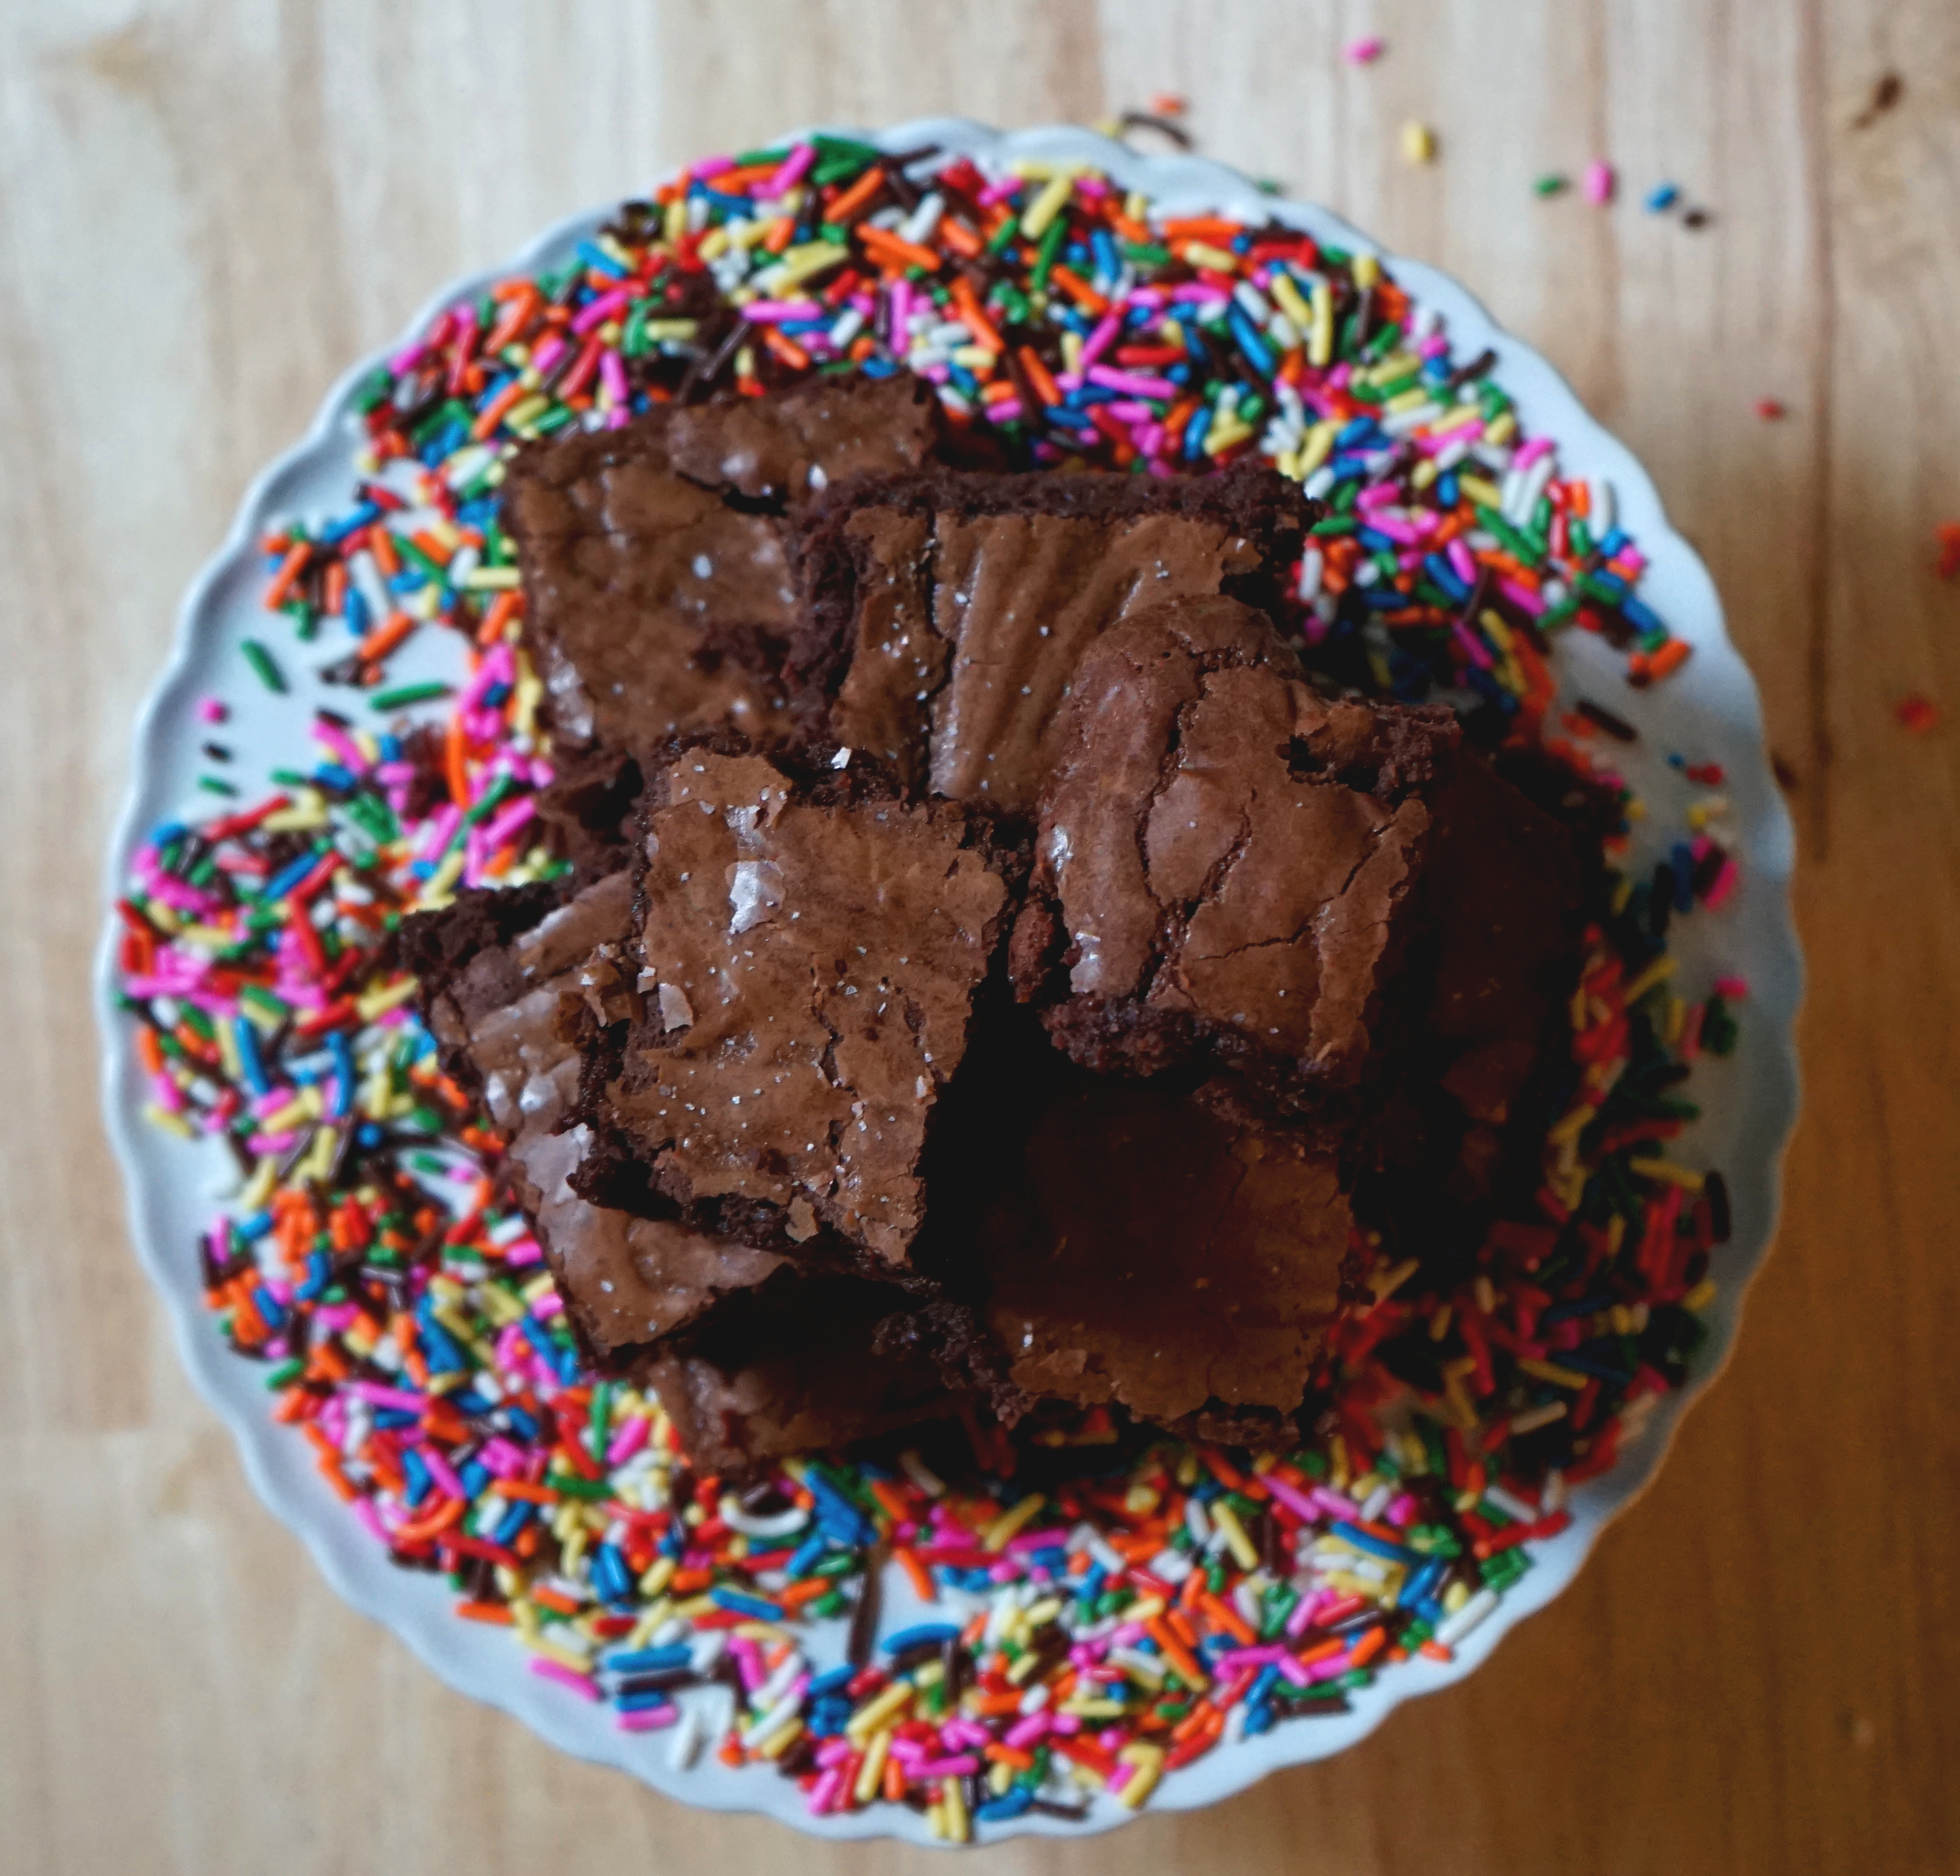
ALSO, I took 30 to a party yesterday and came home with ZERO and loads of compliments.
Yes, I ate some sprinkles… Alright! A lot of sprinkles.
Choc-a-lot Brownies – rich, fudgy, and a little chewy
5 oz semisweet chocolate, chopped
2 oz unsweetened chocolate, chopped
8 tbsp (1 stick) unsalted butter, cut into quarters
3 tbsp natural or dutch-process cocoa powder
3 large eggs
1 1/4 cups (8.75 oz) white sugar
2 tsp vanilla extract
1/2 tsp kosher salt +a pinch
1 cup all-purposed flour
8in x 8in metal baking pan + aluminum foil and cooking spray
Makes about 20 medium sized brownies.
1) Adjust oven rack to lower-middle position and preheat to 350 degrees. Line pan with aluminum foil and spray with cooking spray, future you will totally appreciate it.
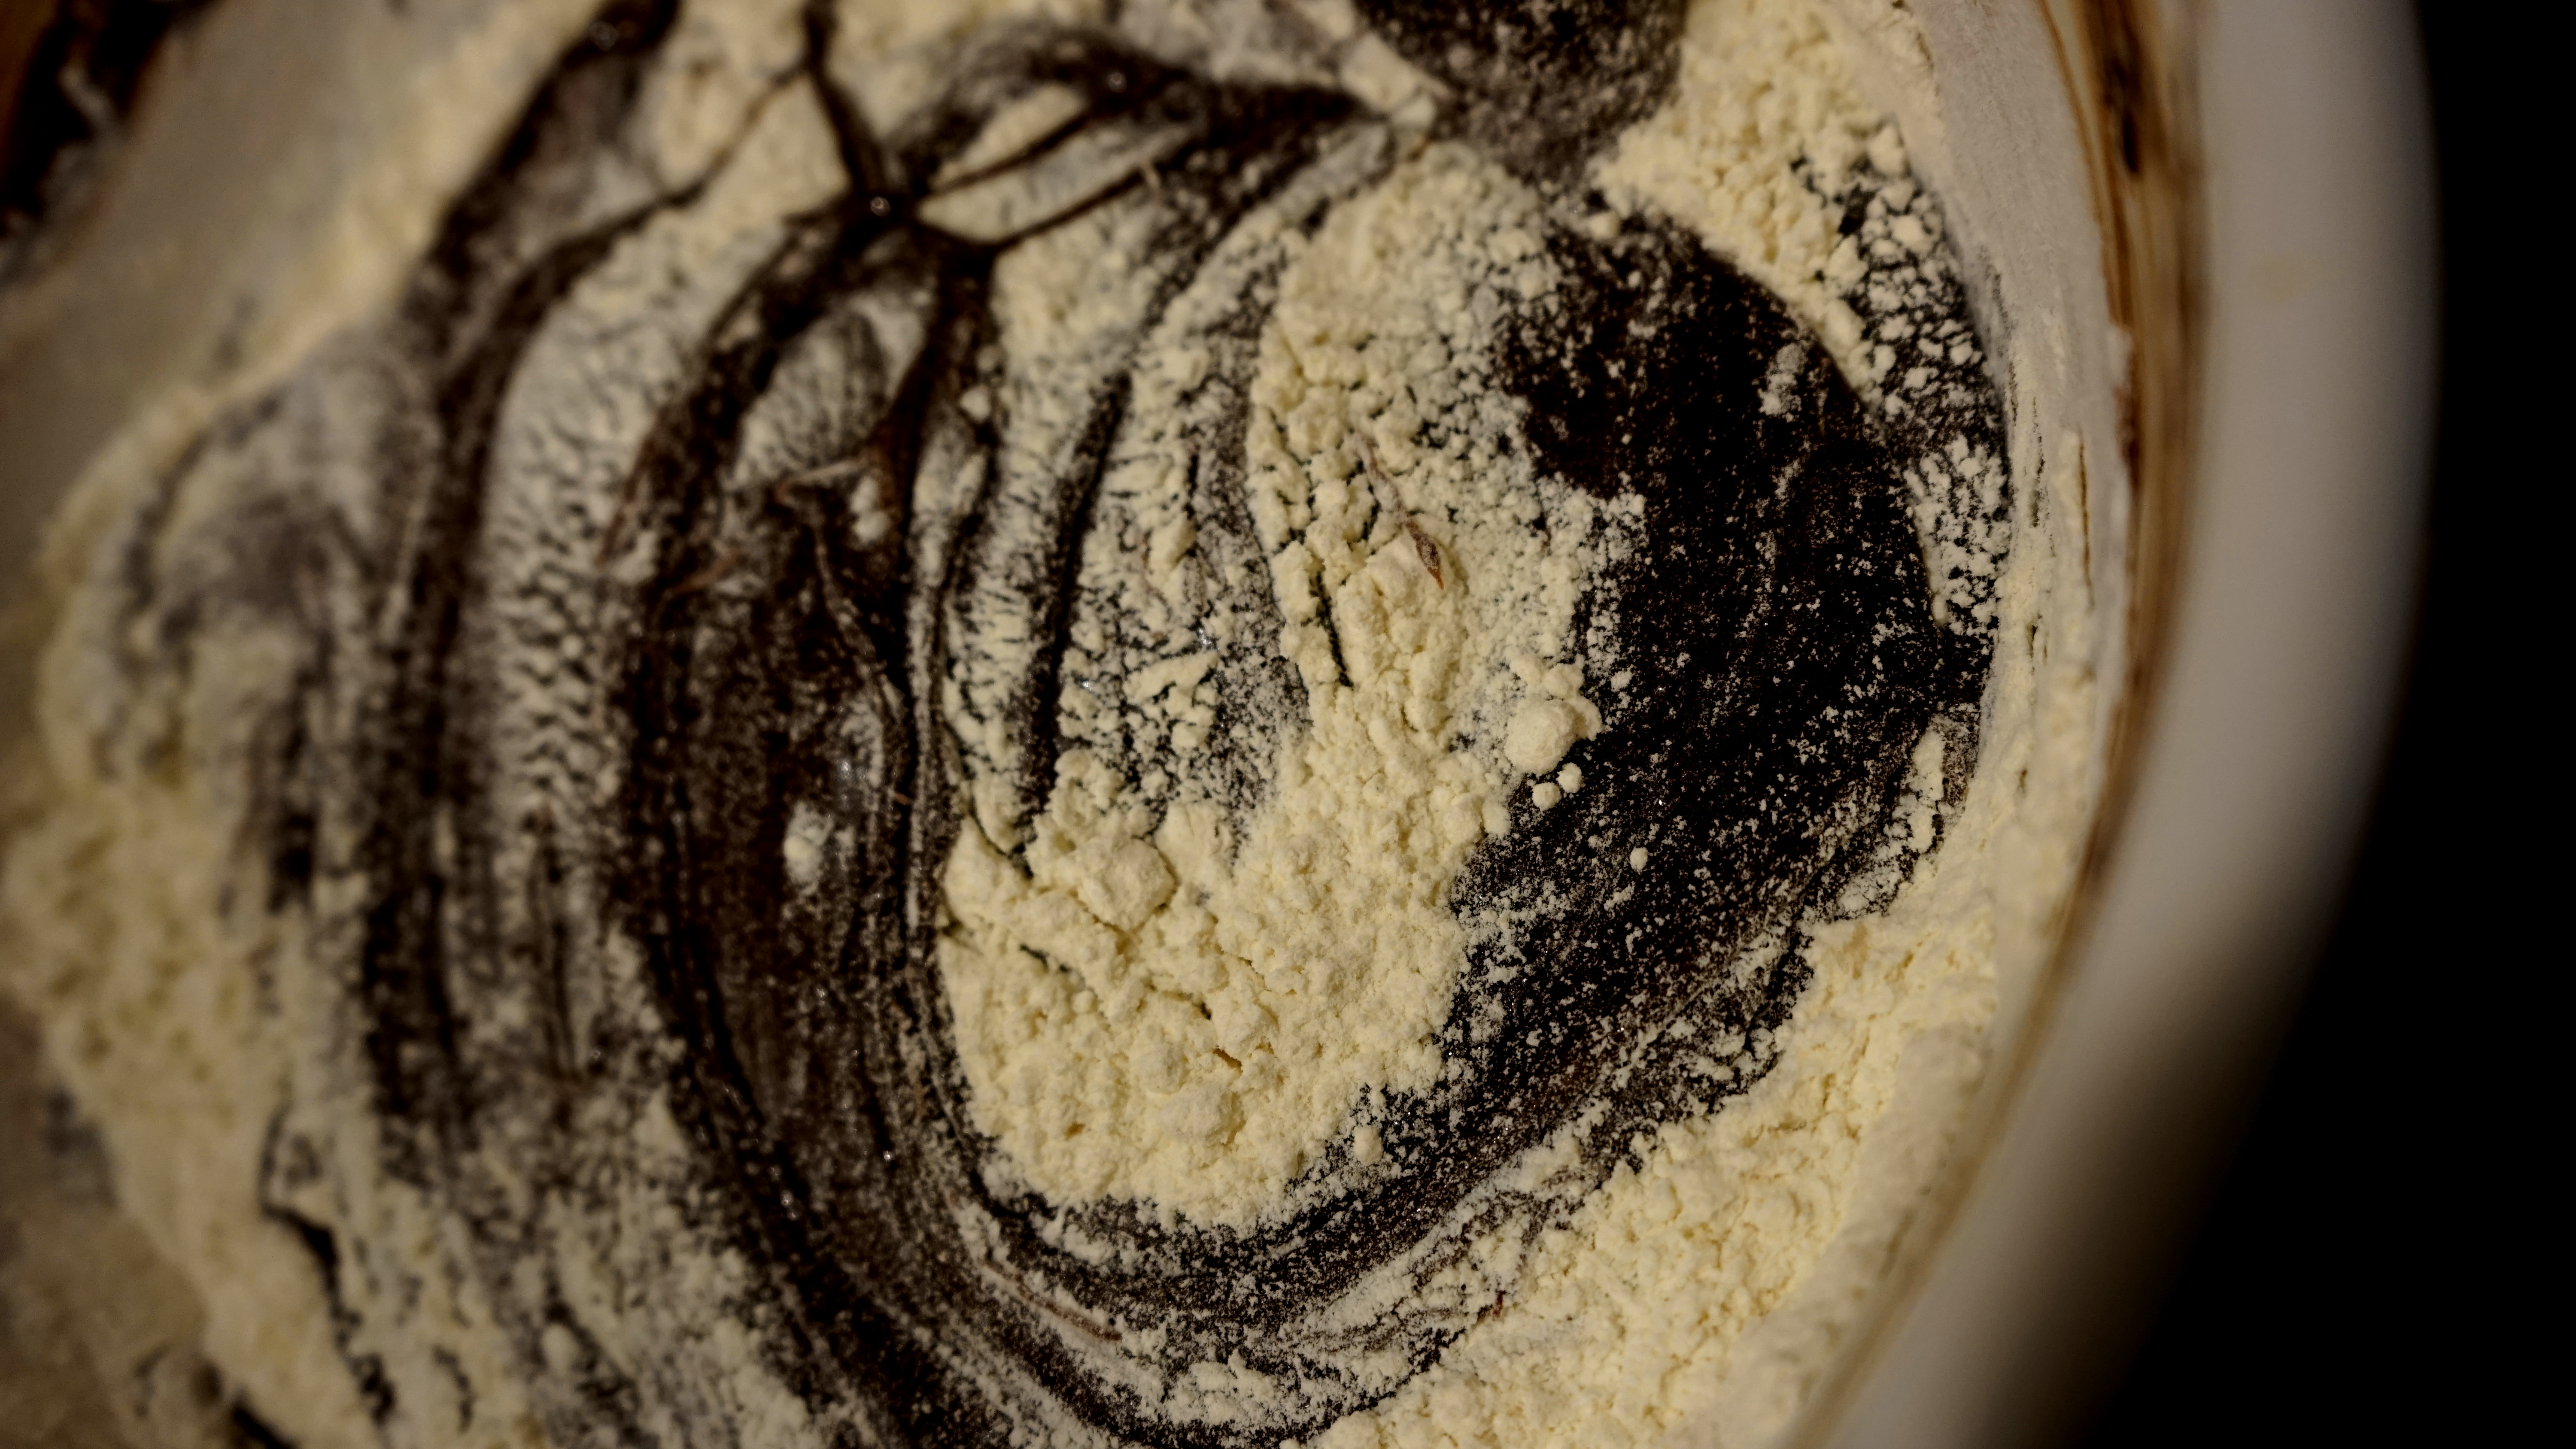
The building blocks of life.
2) Find yourself a microwave safe bowl and add the butter chunks, semisweet chocolate chunks, and unsweetened chocolate chunks. Microwave on 50% power for 2 minutes. After removing it from the microwave, stir and wait a minute…then stir again. ** Repeat microwaving for another 30 seconds if your chocolate isn’t smooth as satin.
Third Chocolate!
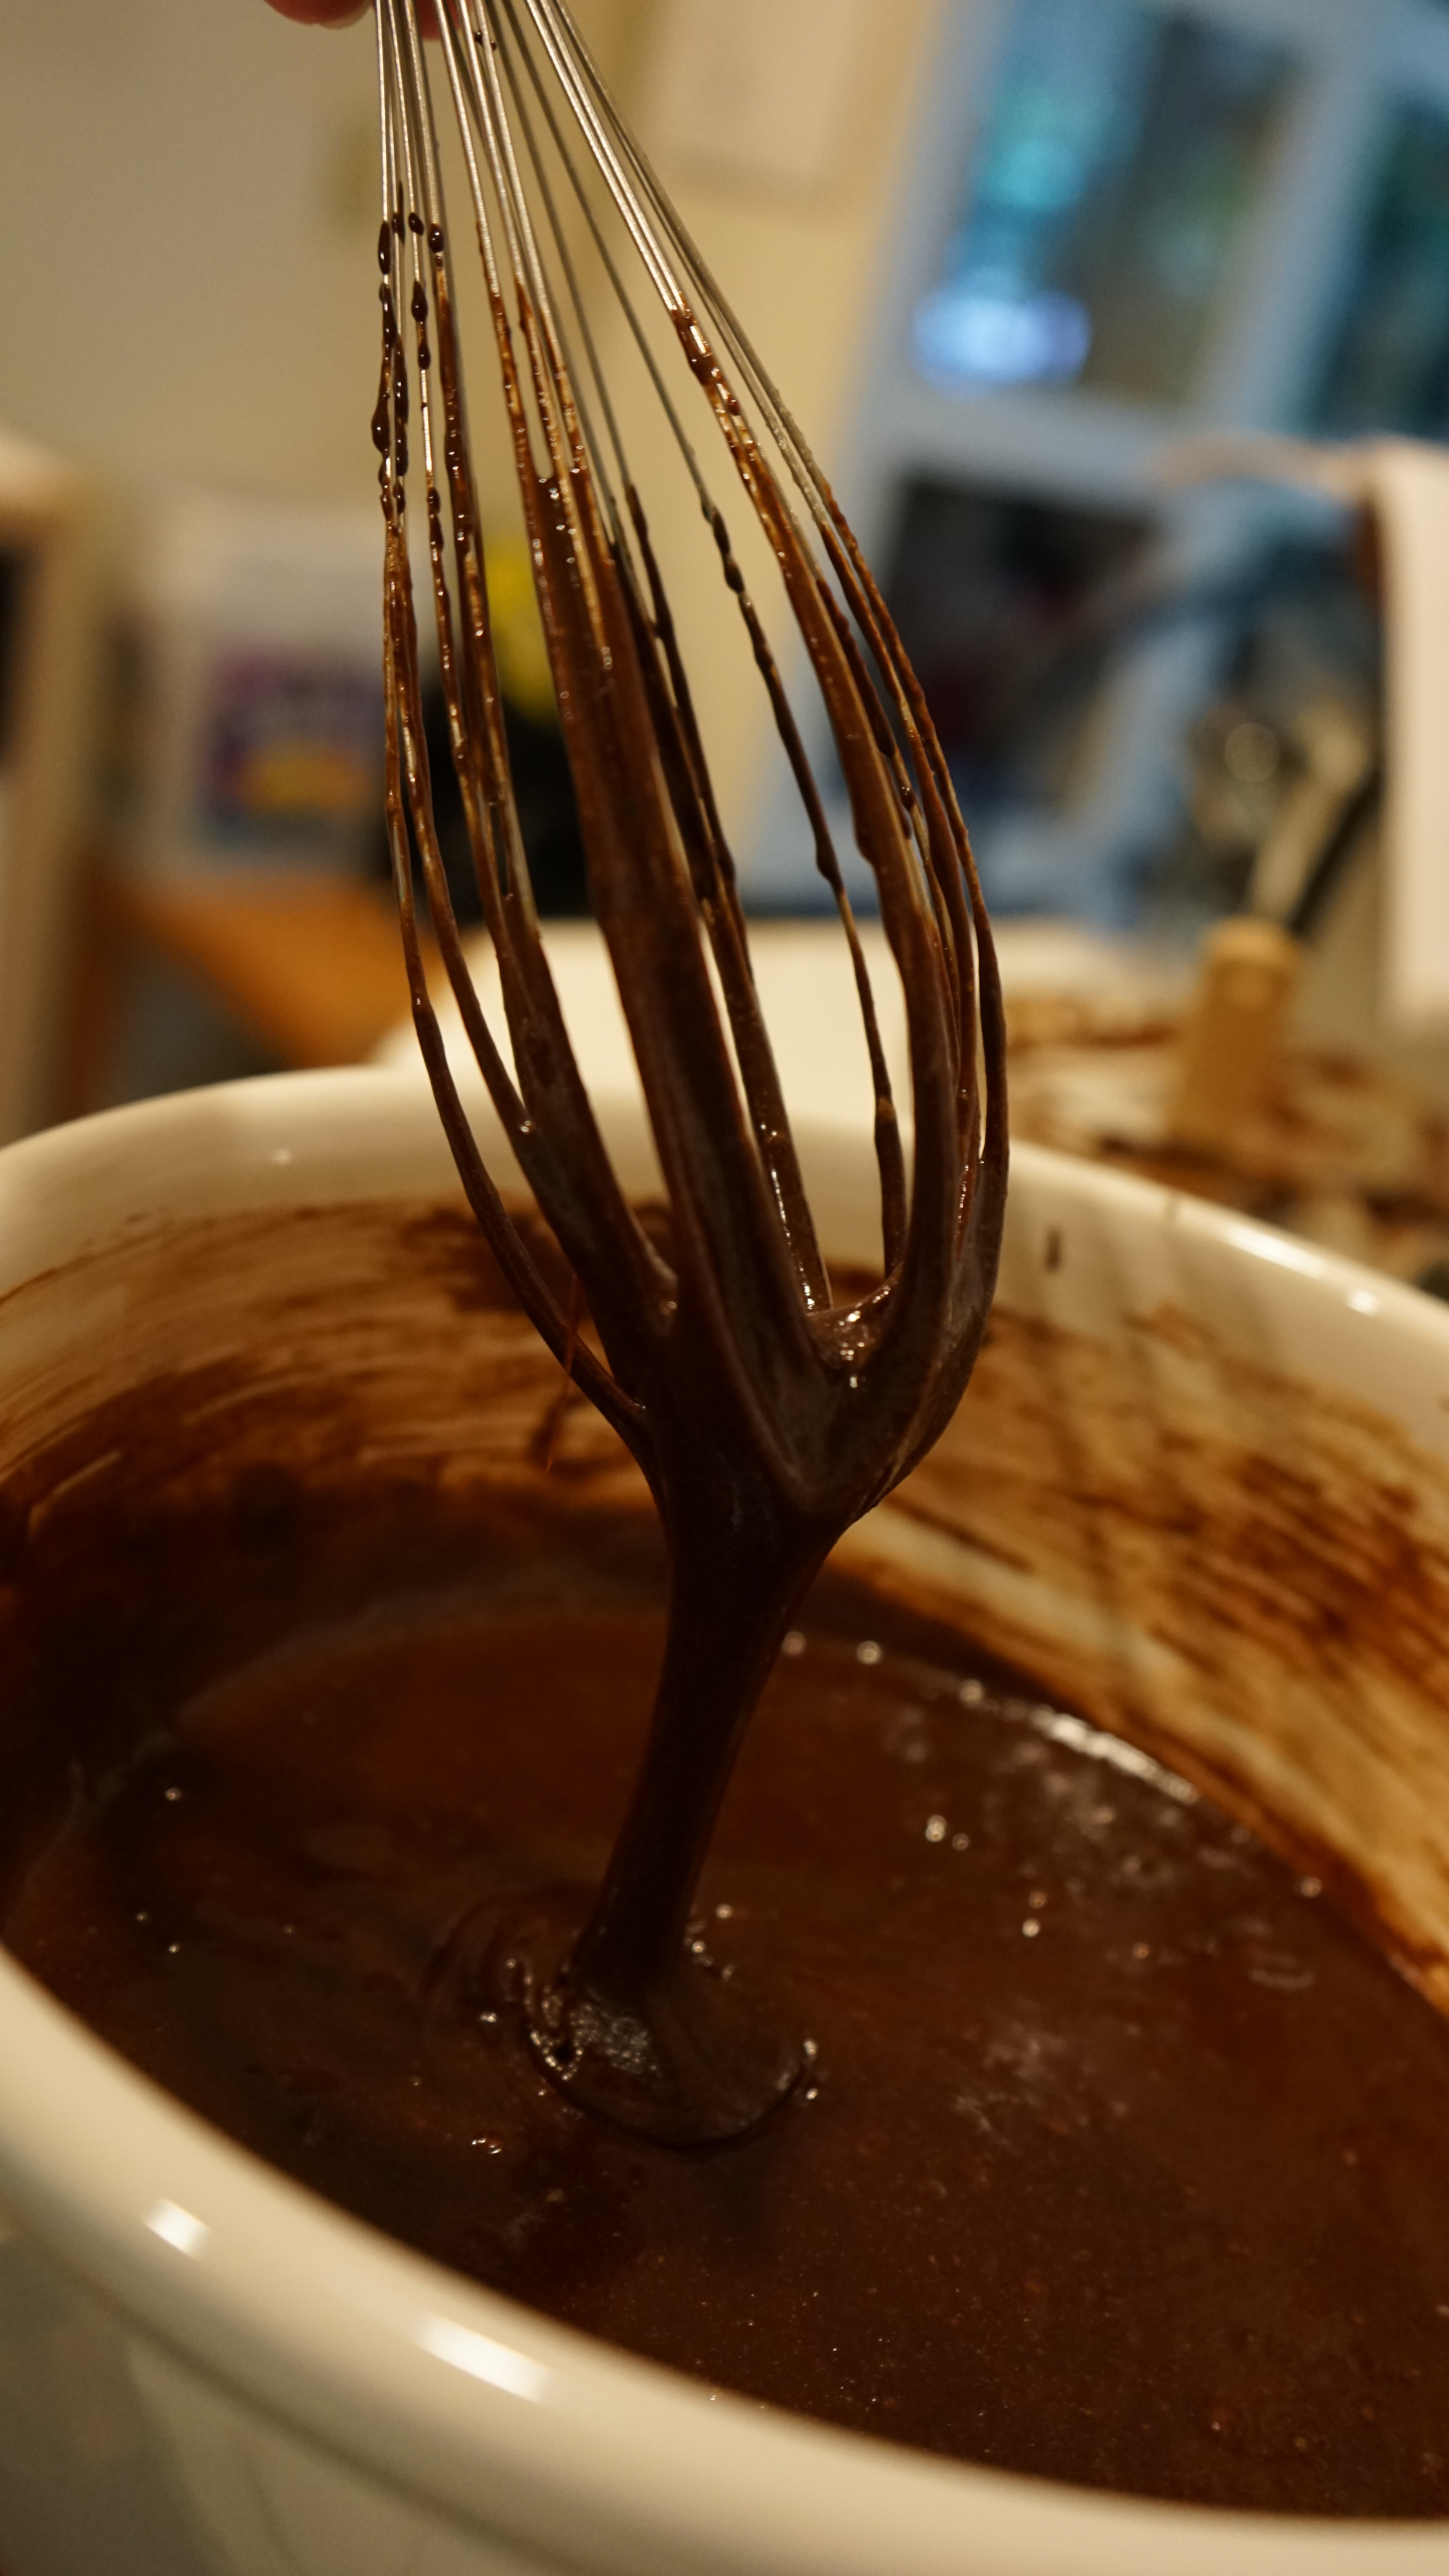
3) When smooth, whisk in the cocoa powder and set heavenly (triple chocolate!!) mixture aside to cool slightly.
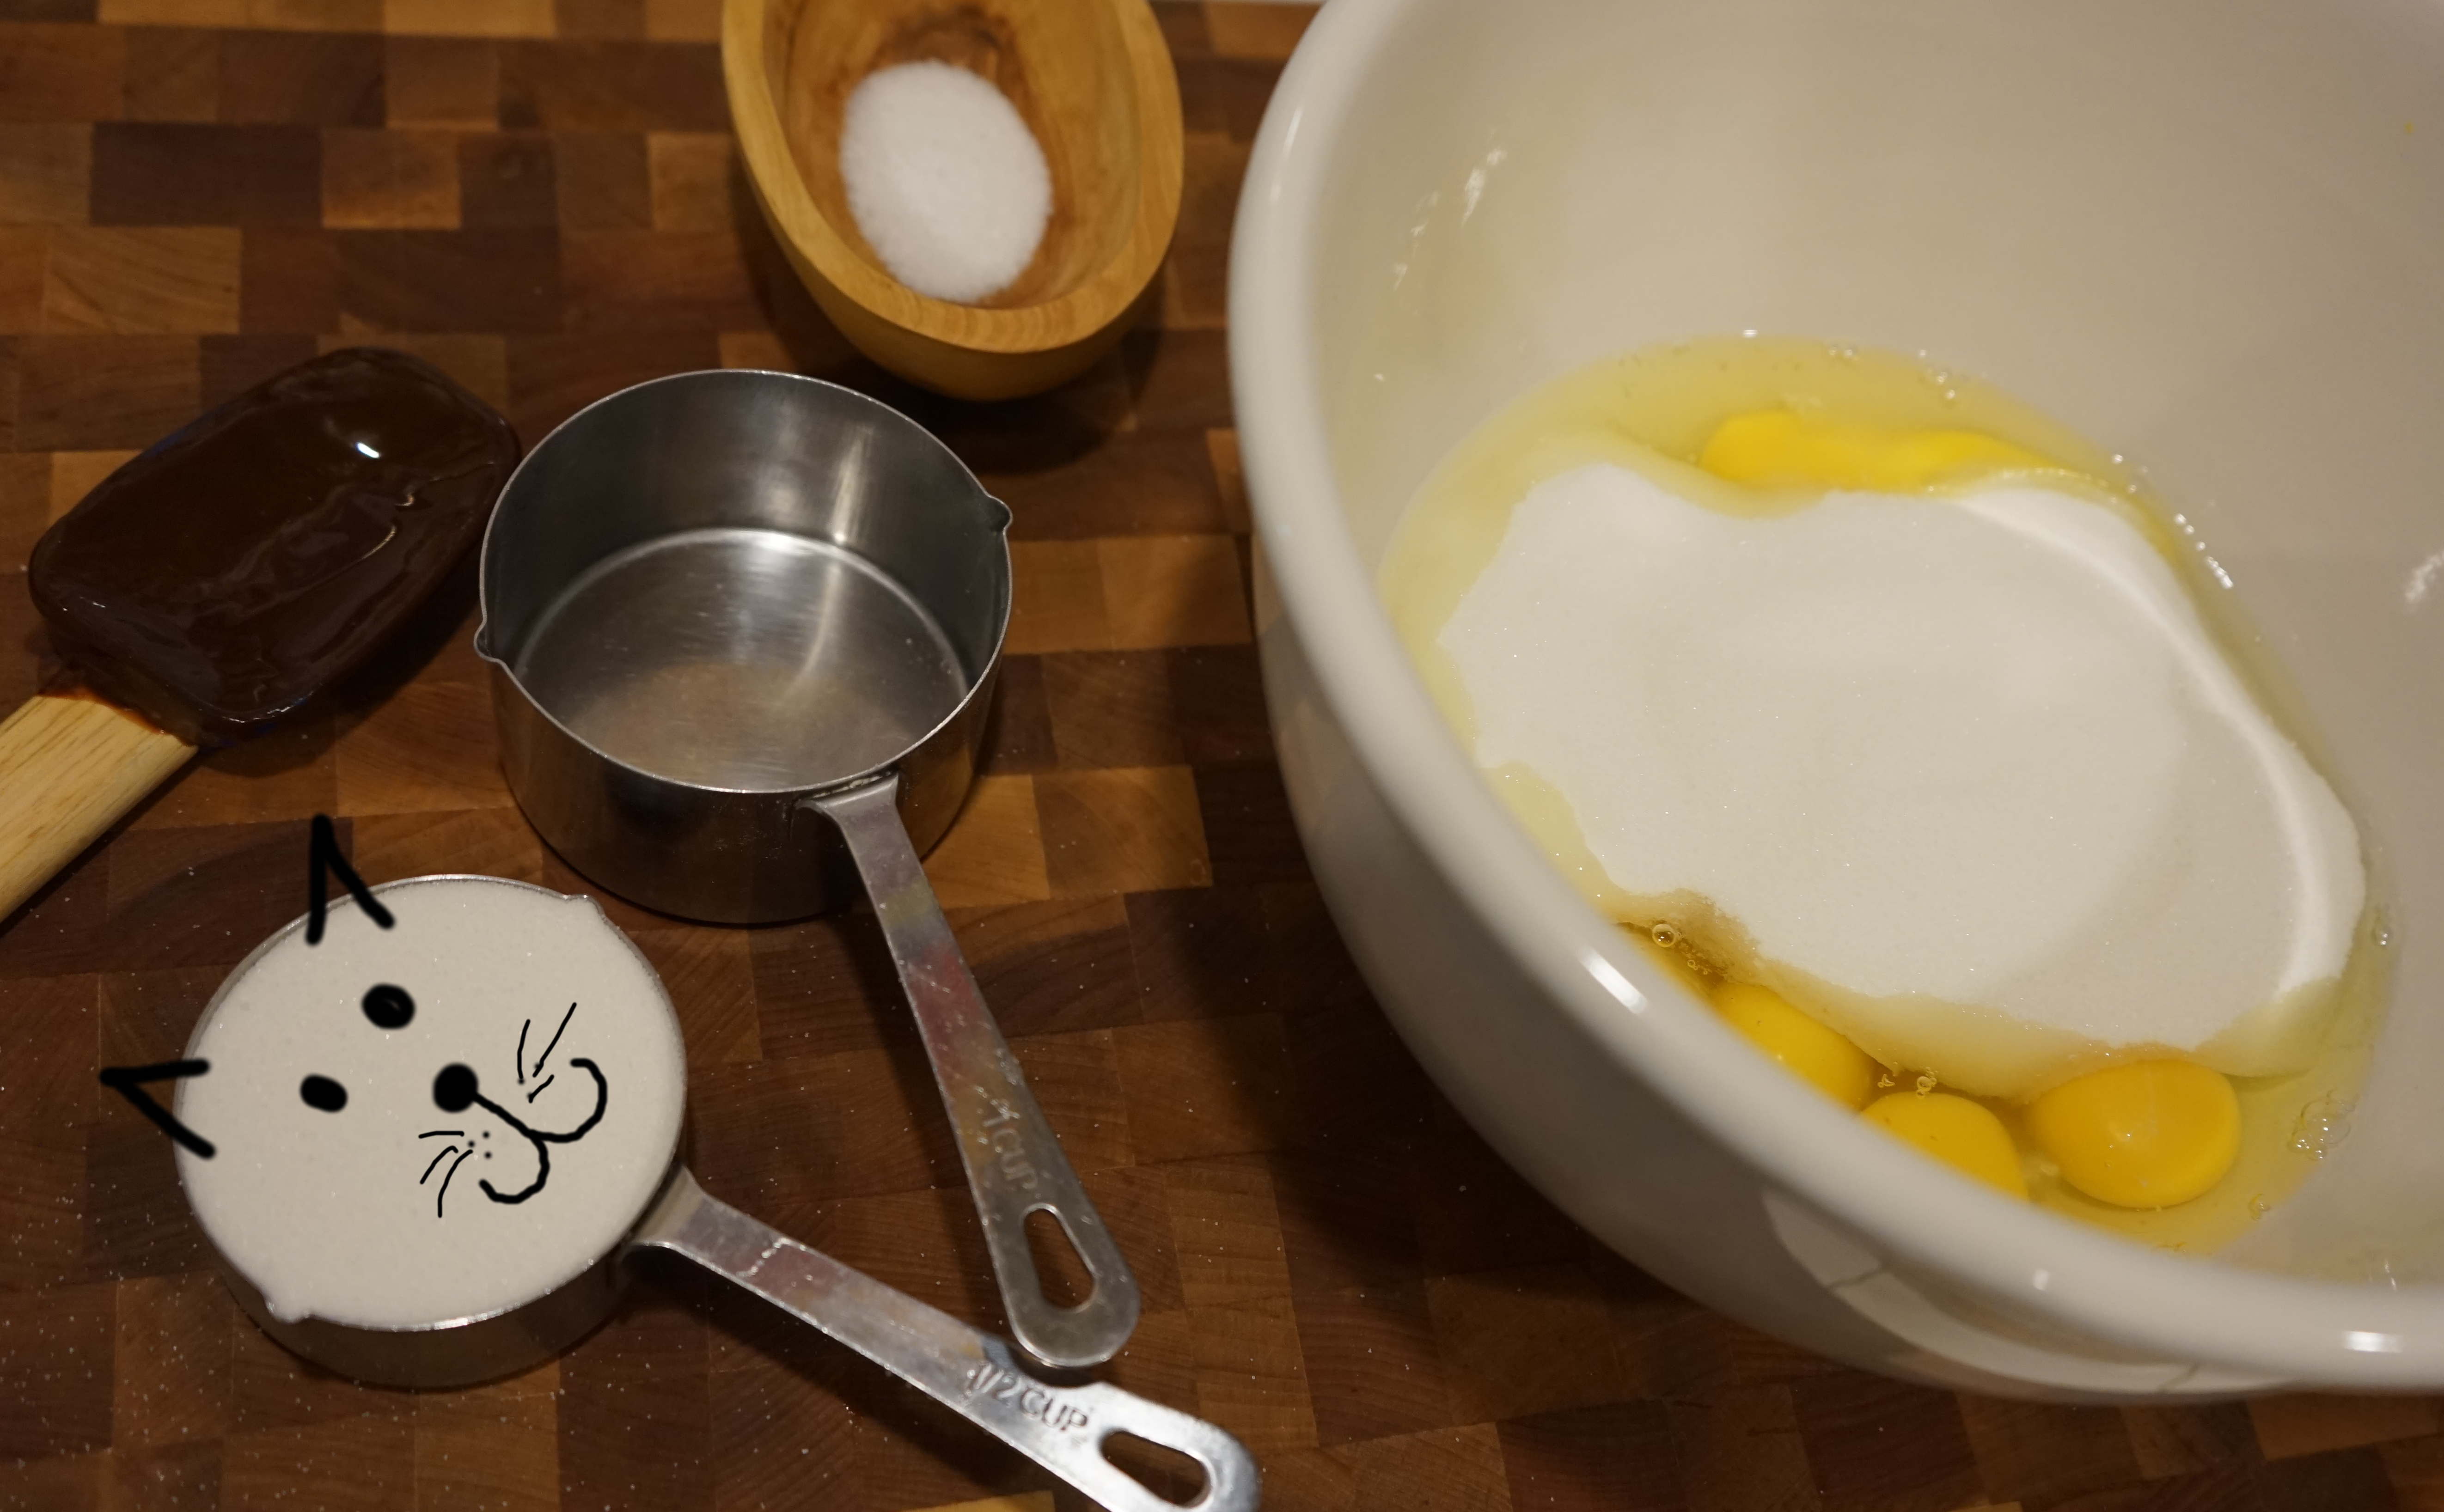
meow
4) In a larger bowl, whisk (just use the chocolate whisk, because more dishes are less fun) together eggs, sugar, vanilla, and salt. Add the cooled chocolate yum yum juice and stir to combine. <-this is where I would add some semi-sweet choc. chunks, if I was into that.
Oh man… there are about a million things I want to smother in this and eat!!
5) Dump in the flour and stir with a wooden spoon UNTIL JUST COMBINED. Don’t freak, flour streaks are okay…they will bake out.
Stir just a little bit more than this.
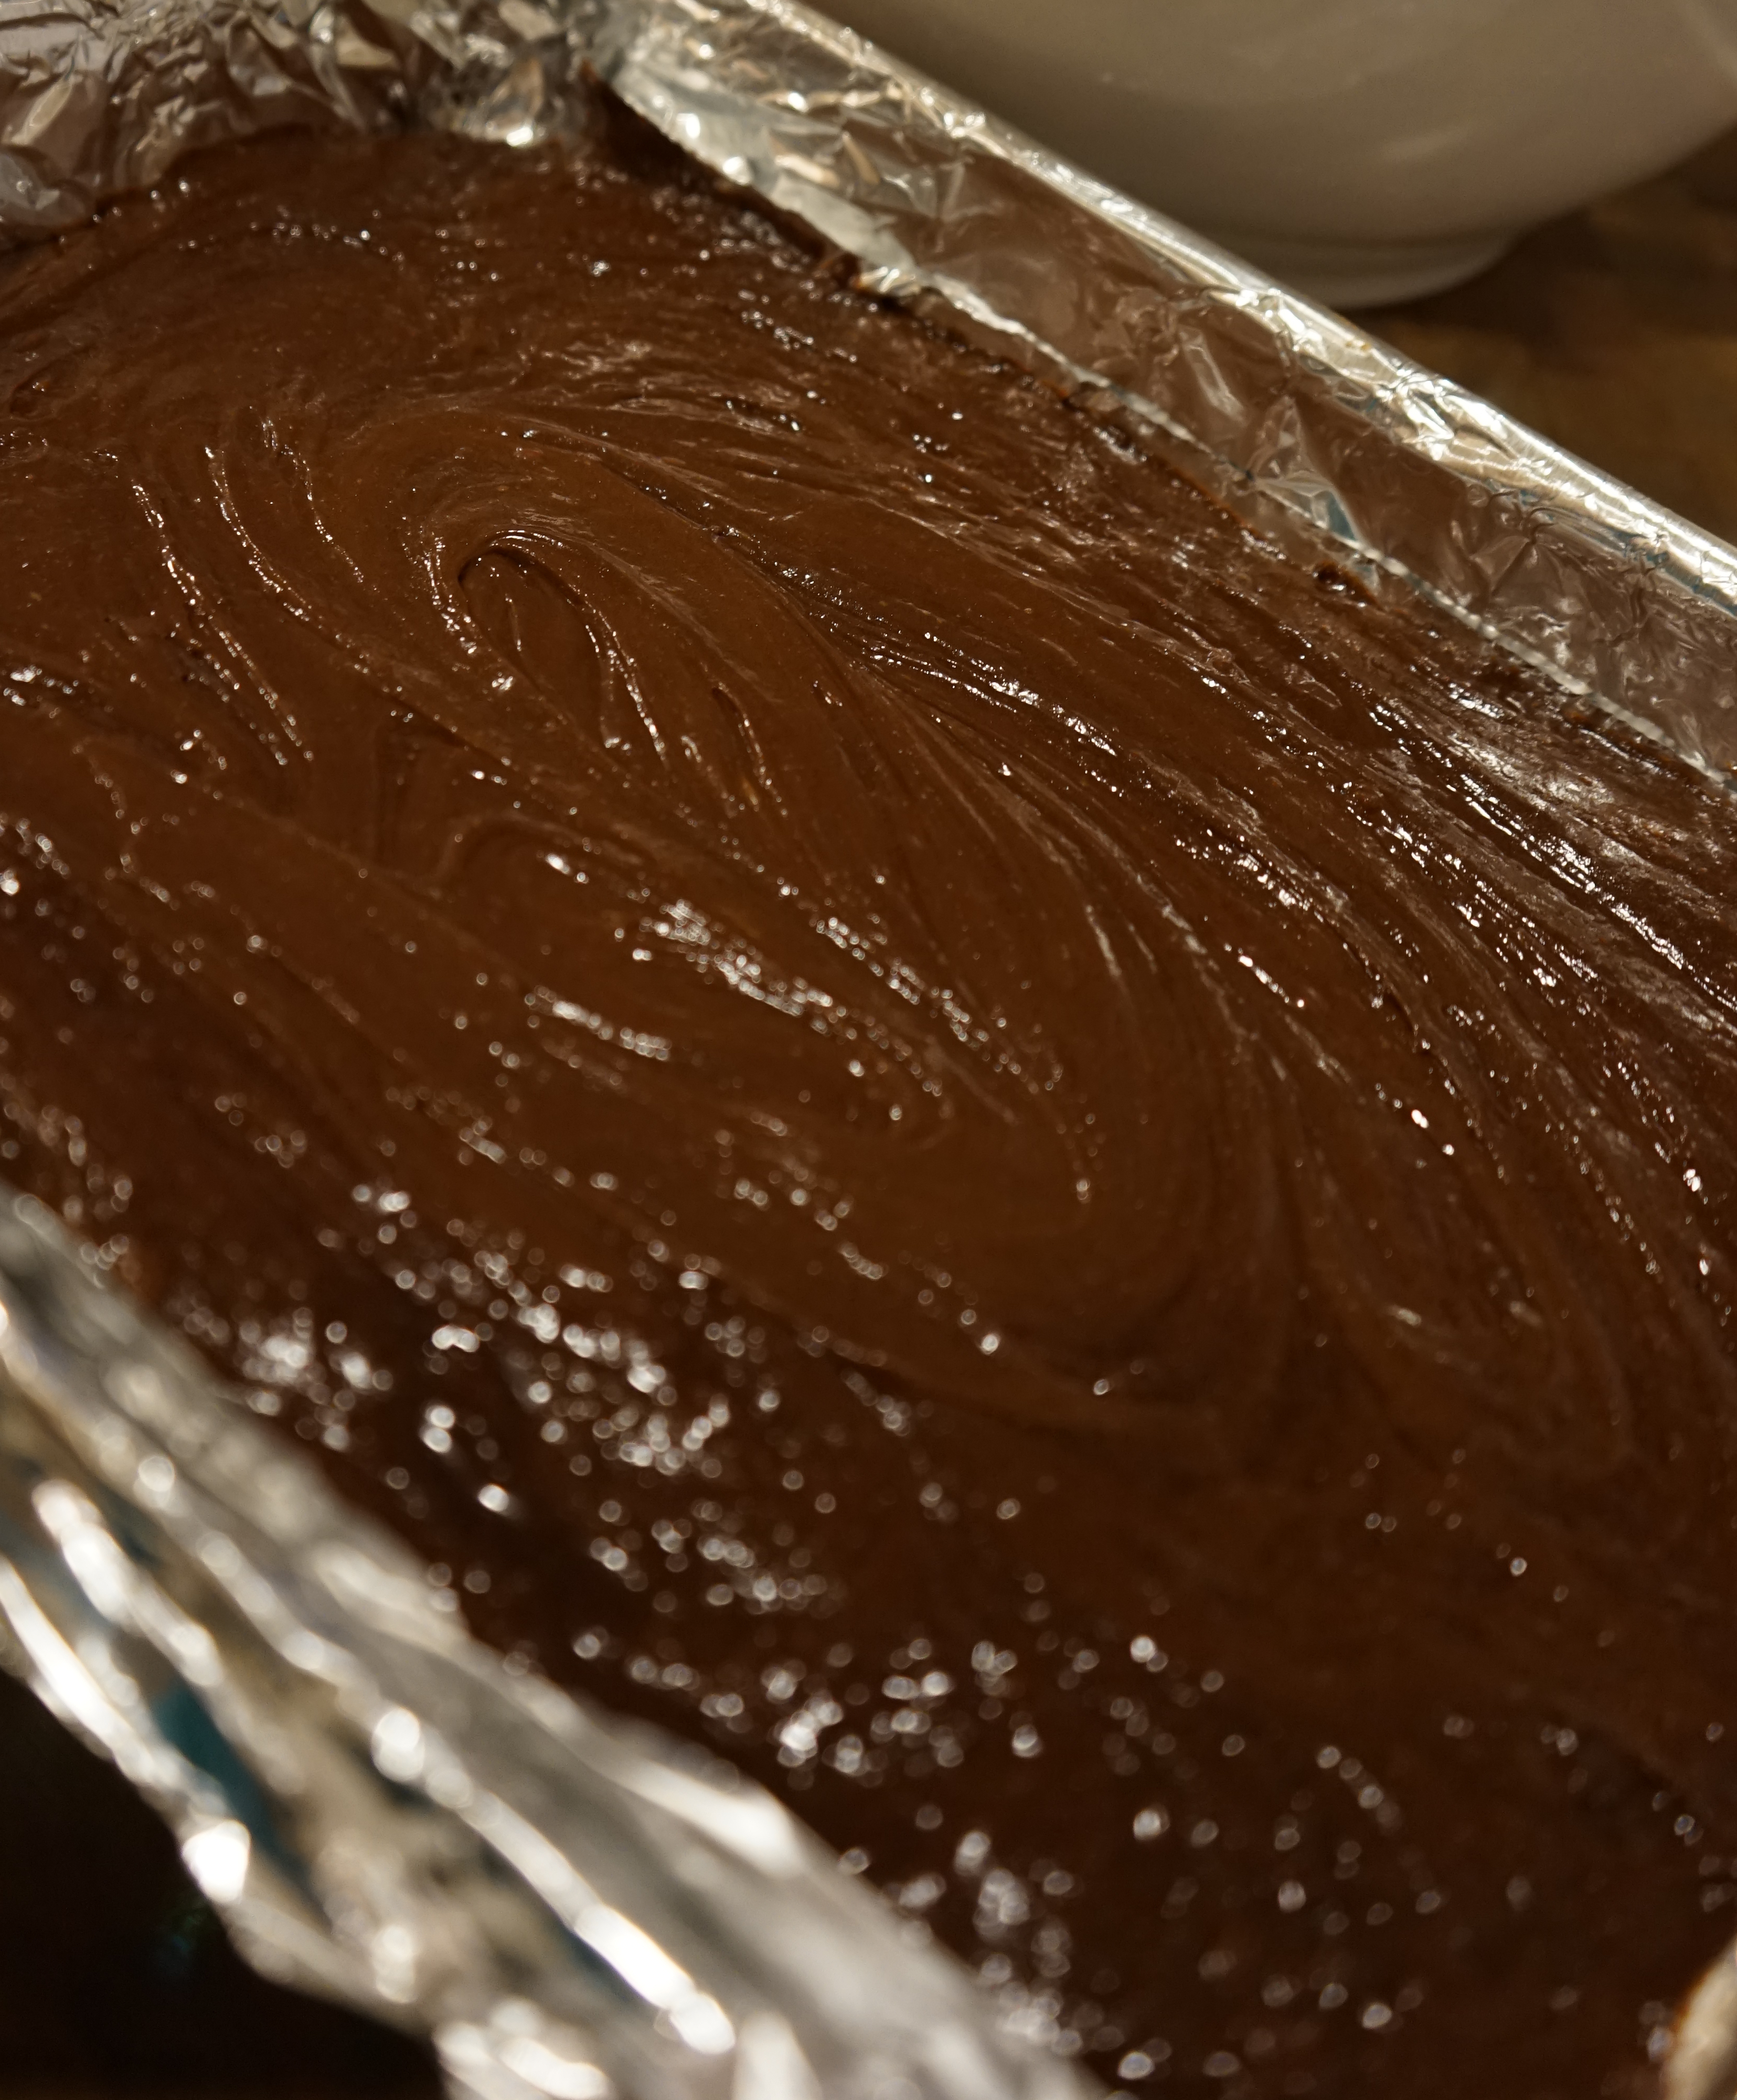
6) Spatula that glorious brownie batter in the pan, smooth it out and sprinkle that pinch of salt on top. Bake for about 30 minutes. Your oven is not my oven, so check them at 25 minutes and every 5 minutes after that until they reach your desired gooey-ness. I suggest under-baking them to retain a fudge layer…oh, man…the fudge layer! A toothpick or knife tip inserted in the brownies should come out with moist brownie sludge on the end.
I want to dive in face first
7) Cool for about 2 hours before cutting…or whatever. They’re your brownies, go nuts…or whatever.
**Sometimes the residual heat in the butter and bowl will melt the remaining chocolate lumps, so give it a minute.
The white sugar creates that crinkled layer on top. So good.This is torture. Self-torture…apparently I am a masochist. For chocolate. Ugh.
I’m glad that there are none left from yesterday, because I would eat them. All of them and suffer the most horrible migraine in the existence of migraines…AND IT WOULD BE WORTH IT!!
NONSENSE:Valentines Day is around the corner y’all!* And why does this preclude me from having a social life?…because every year I hand make valentines to send to the people I love. This sounds simple, I know. Slap some hearts on some red construction paper and call it good. Right?…WRONG!
As a cardist?..hmm…artard? (card + artist…please comment with better title suggestions) I have to spend hours crafting every card. Well, not EVERY card…just the ones for boys I have crushes on.** This leads to a lack of free time to you know, date said boys. On second thought, I may be doing it wrong…
Nova likes to think she is helping.
IMPORTANT STUFF: Anyway, this means some seriously snappy card tutorials and whatnottery for you guys. Stay tuned.
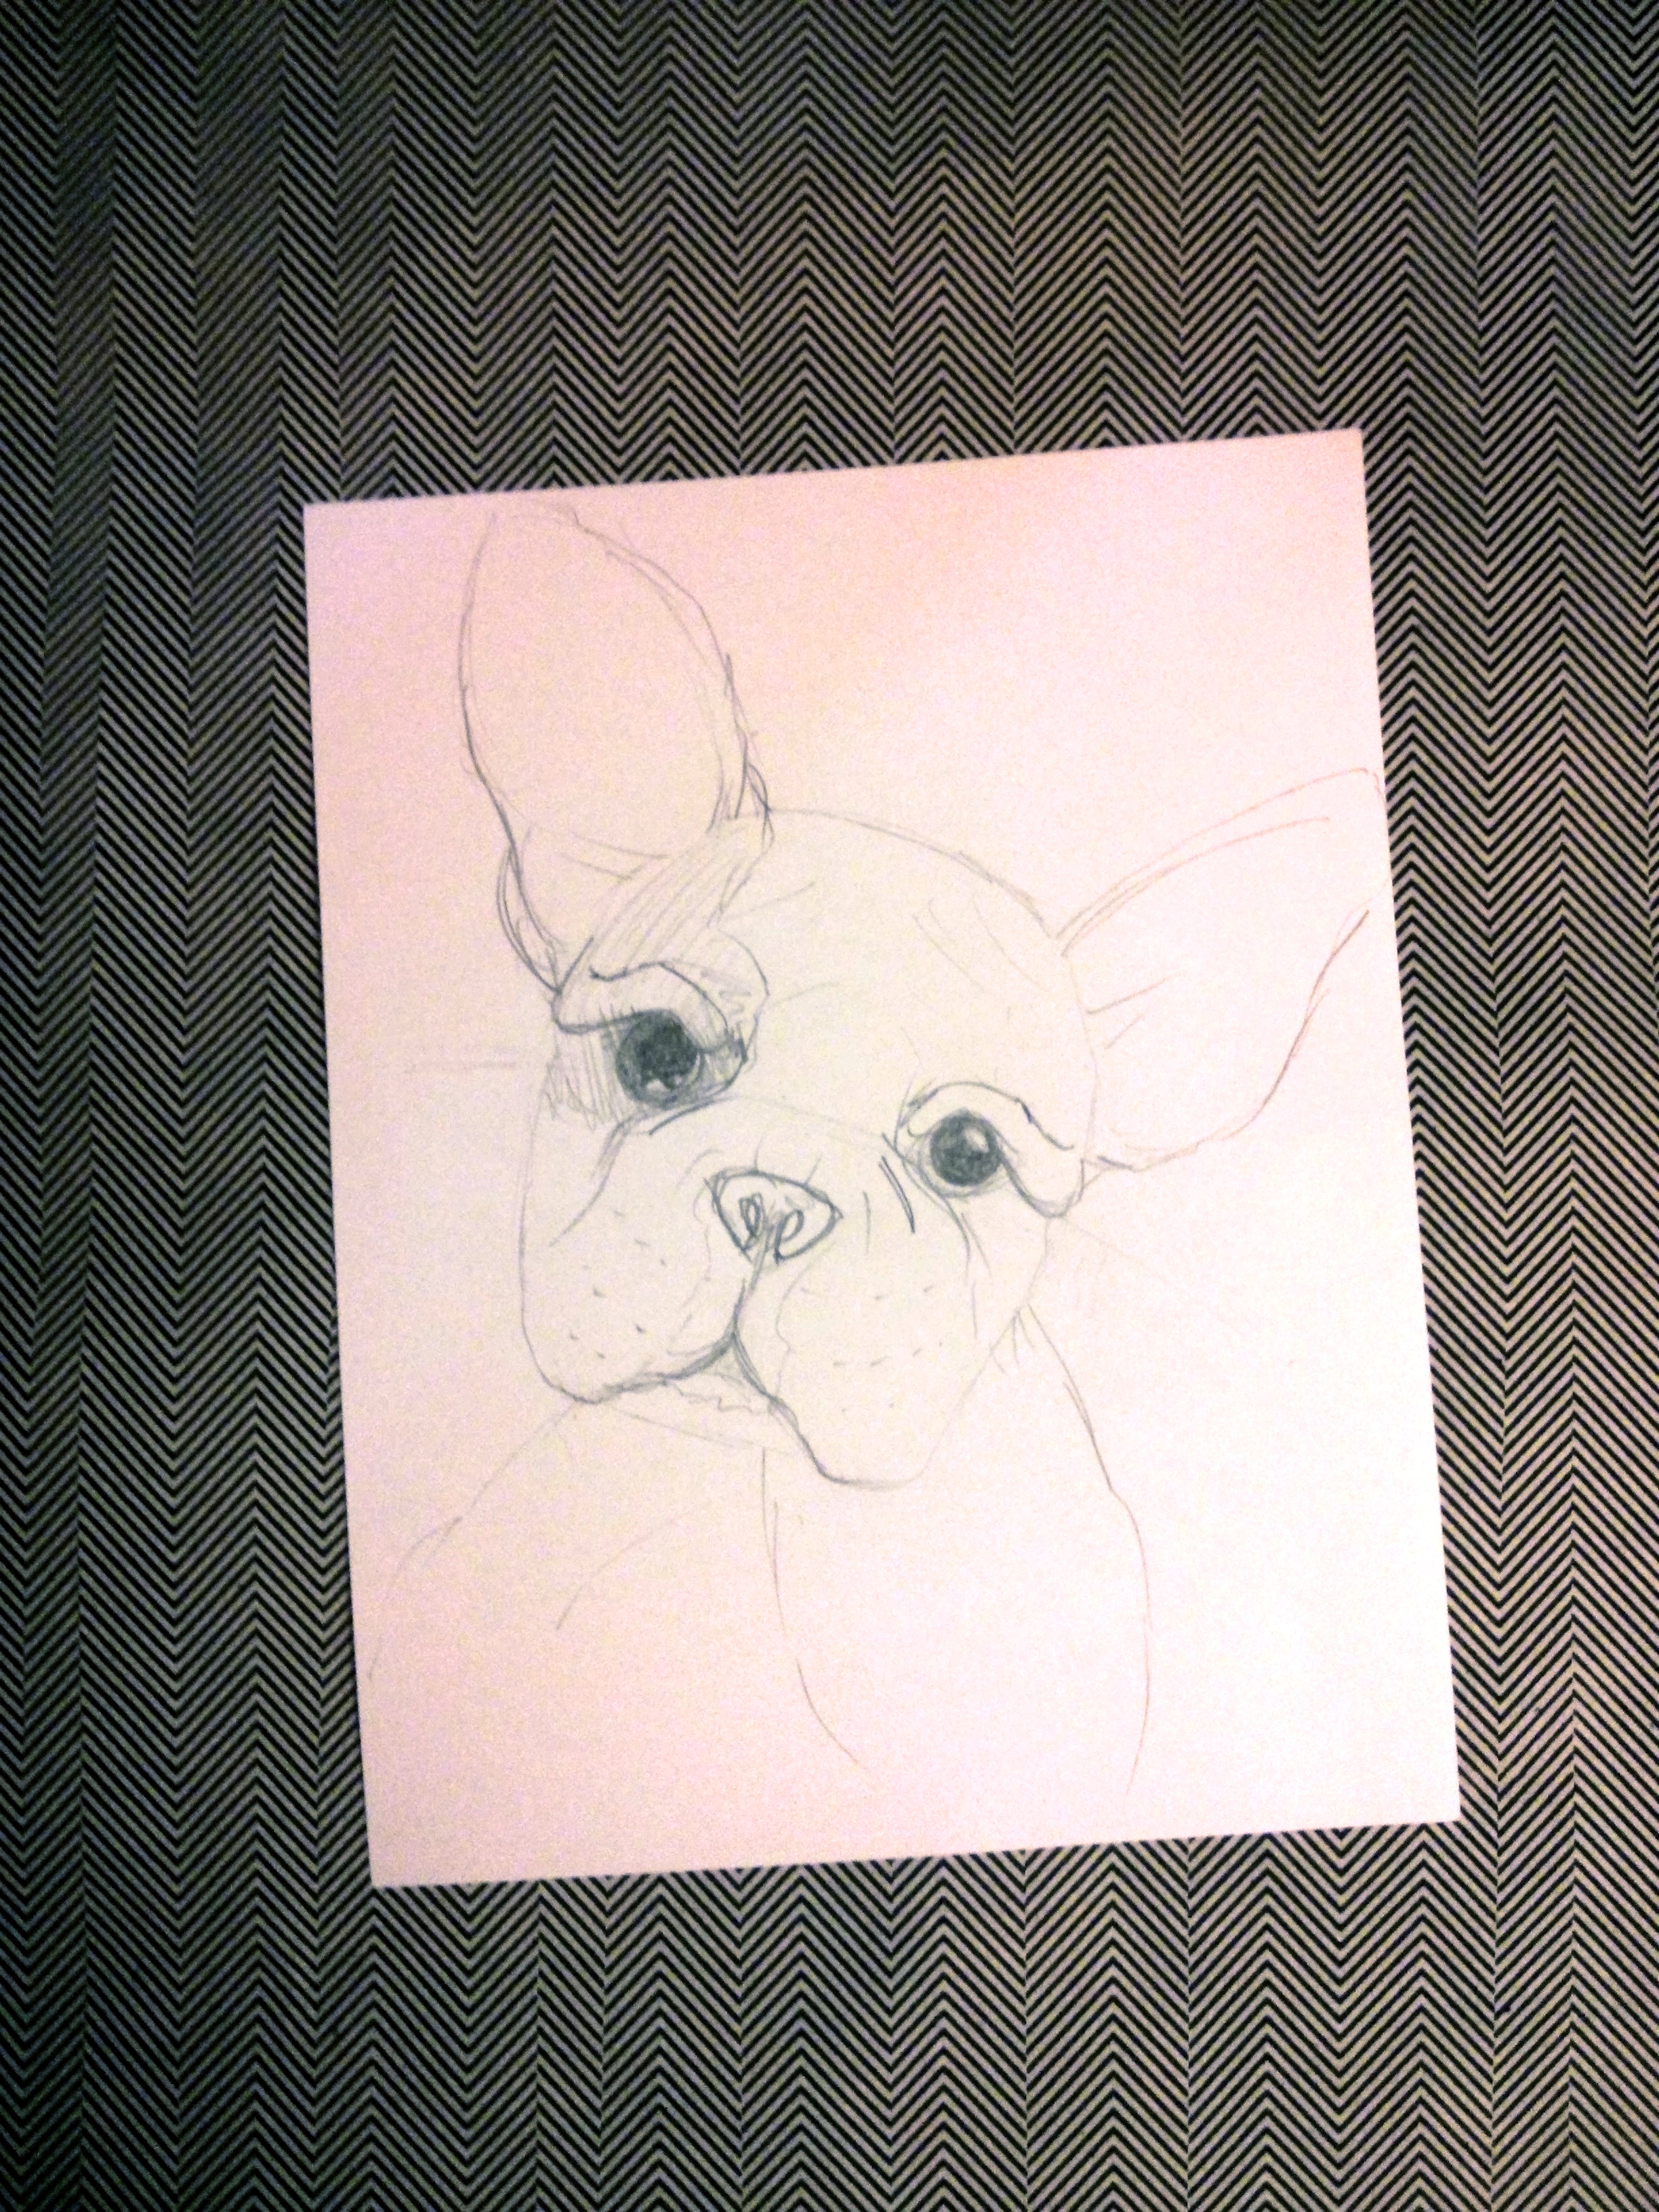
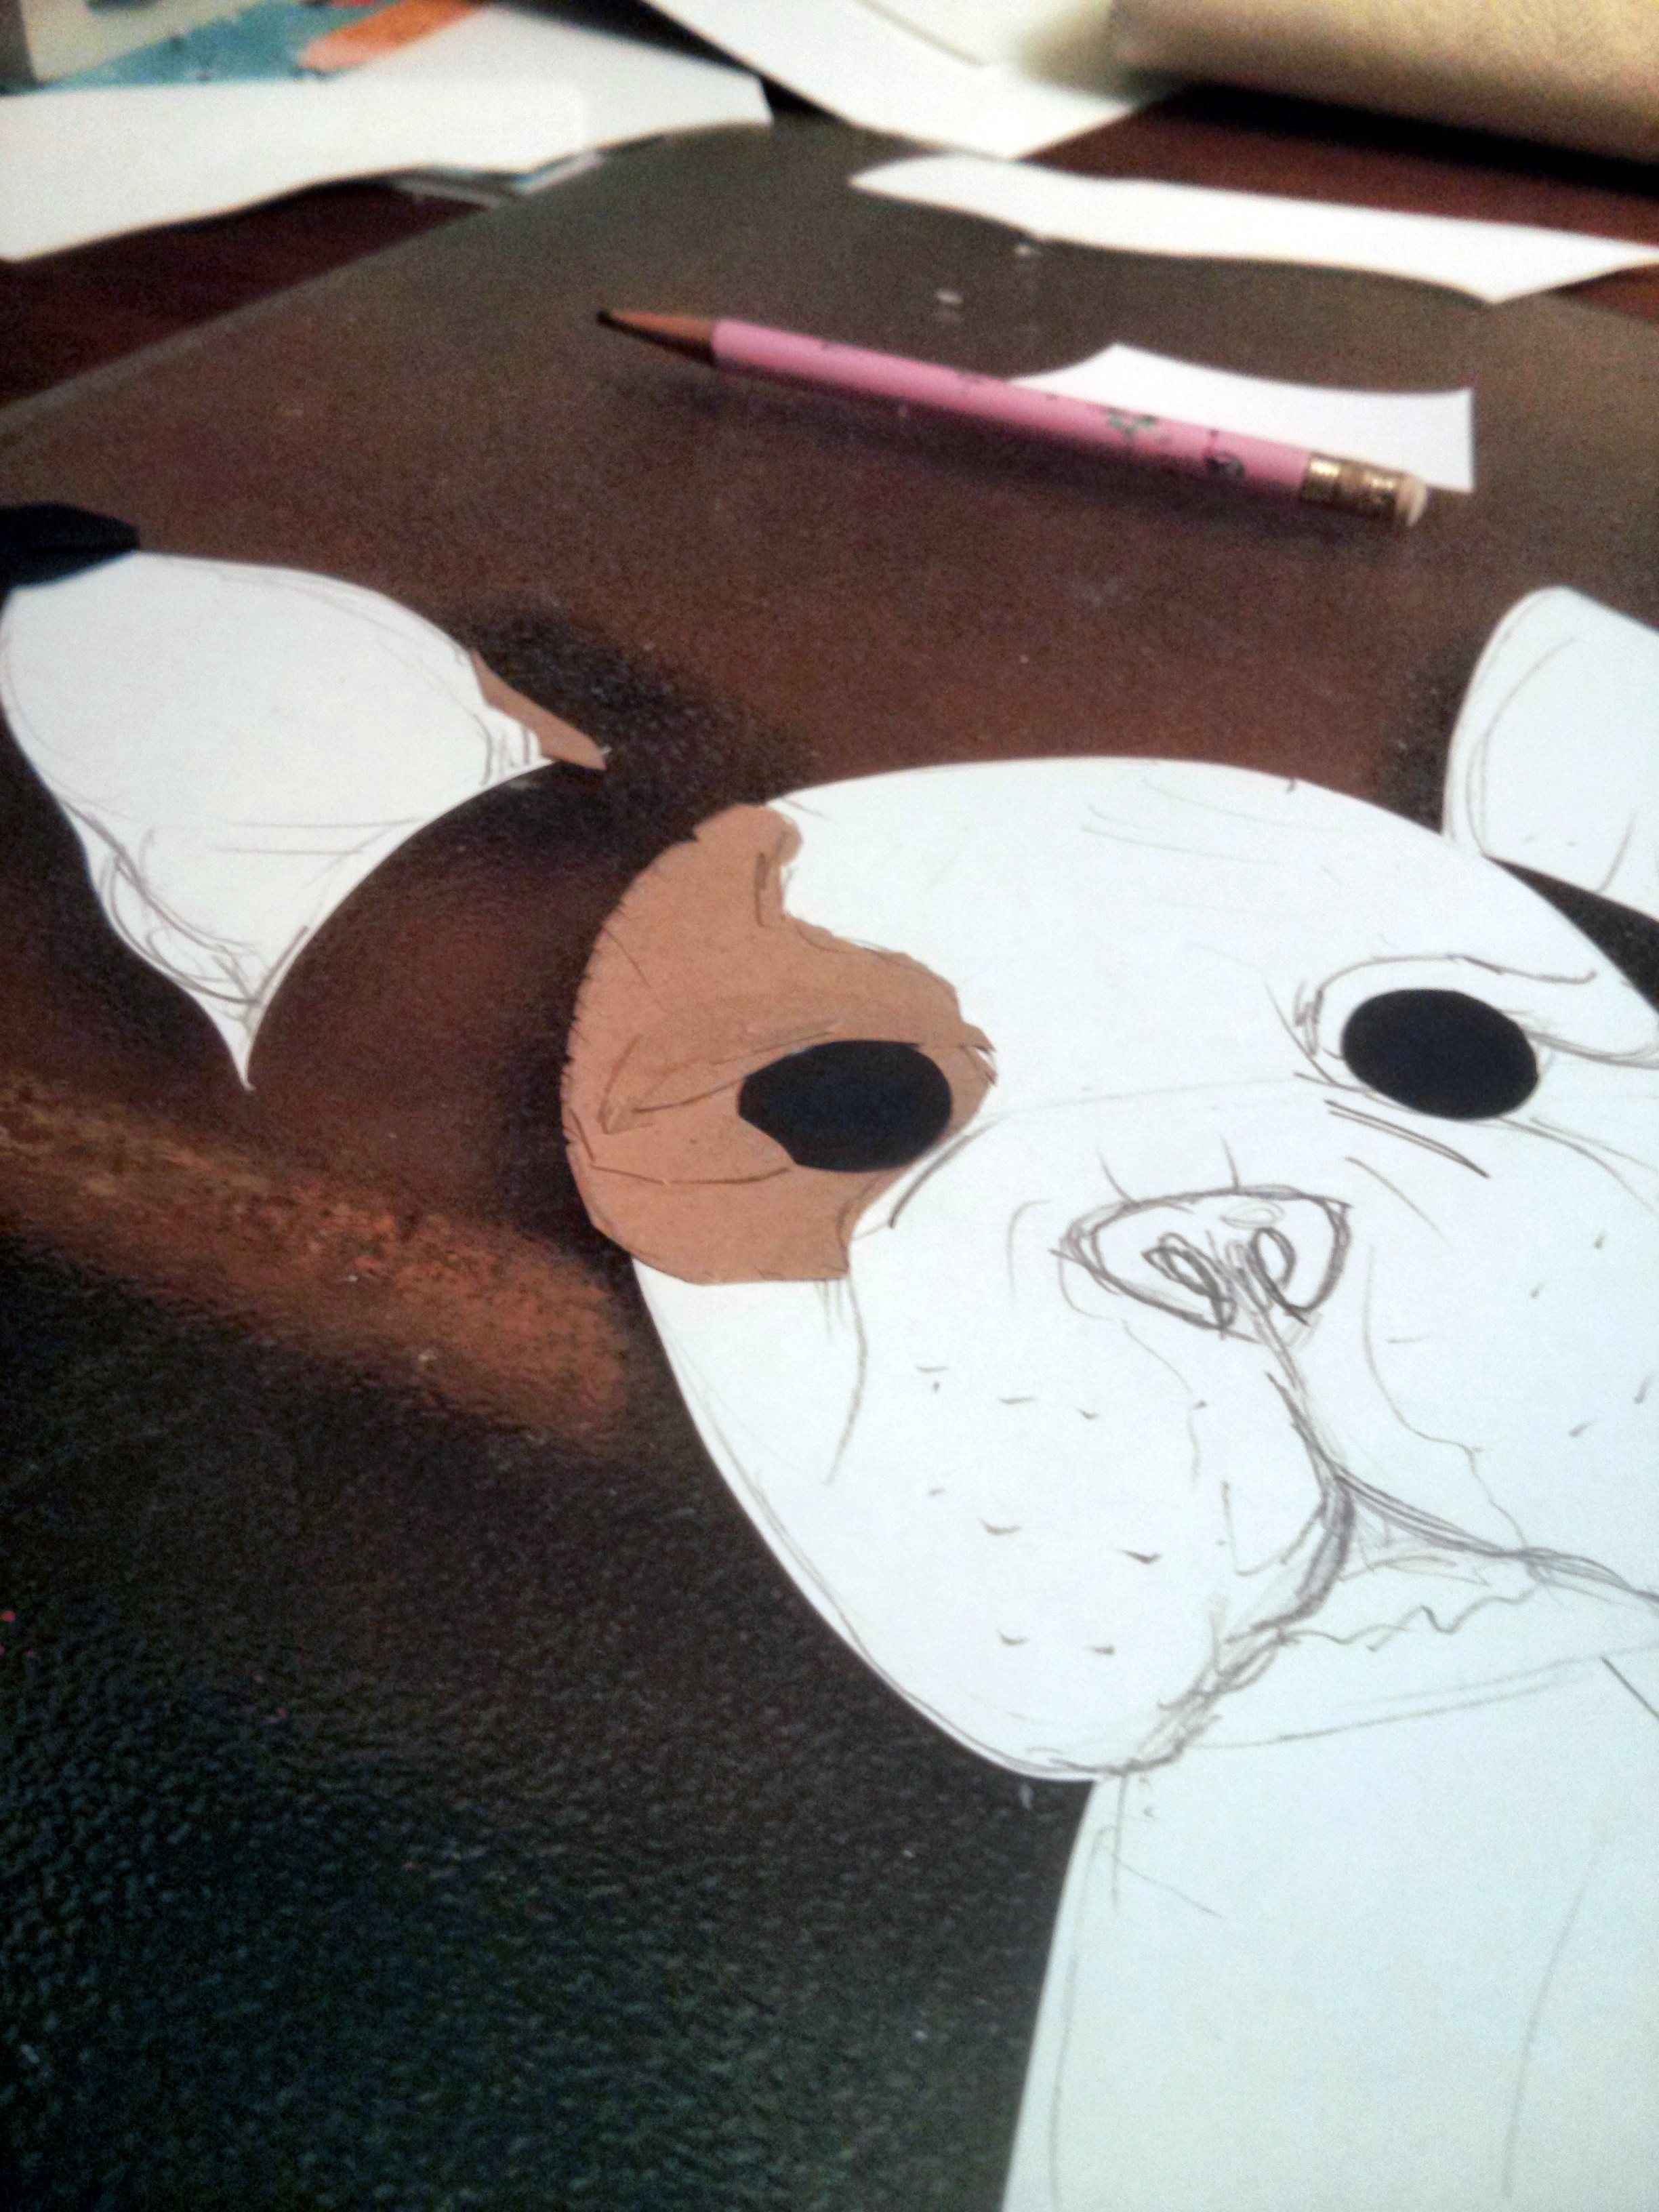
For a puppy-loving coworker, a french bulldog card was the only way to go.
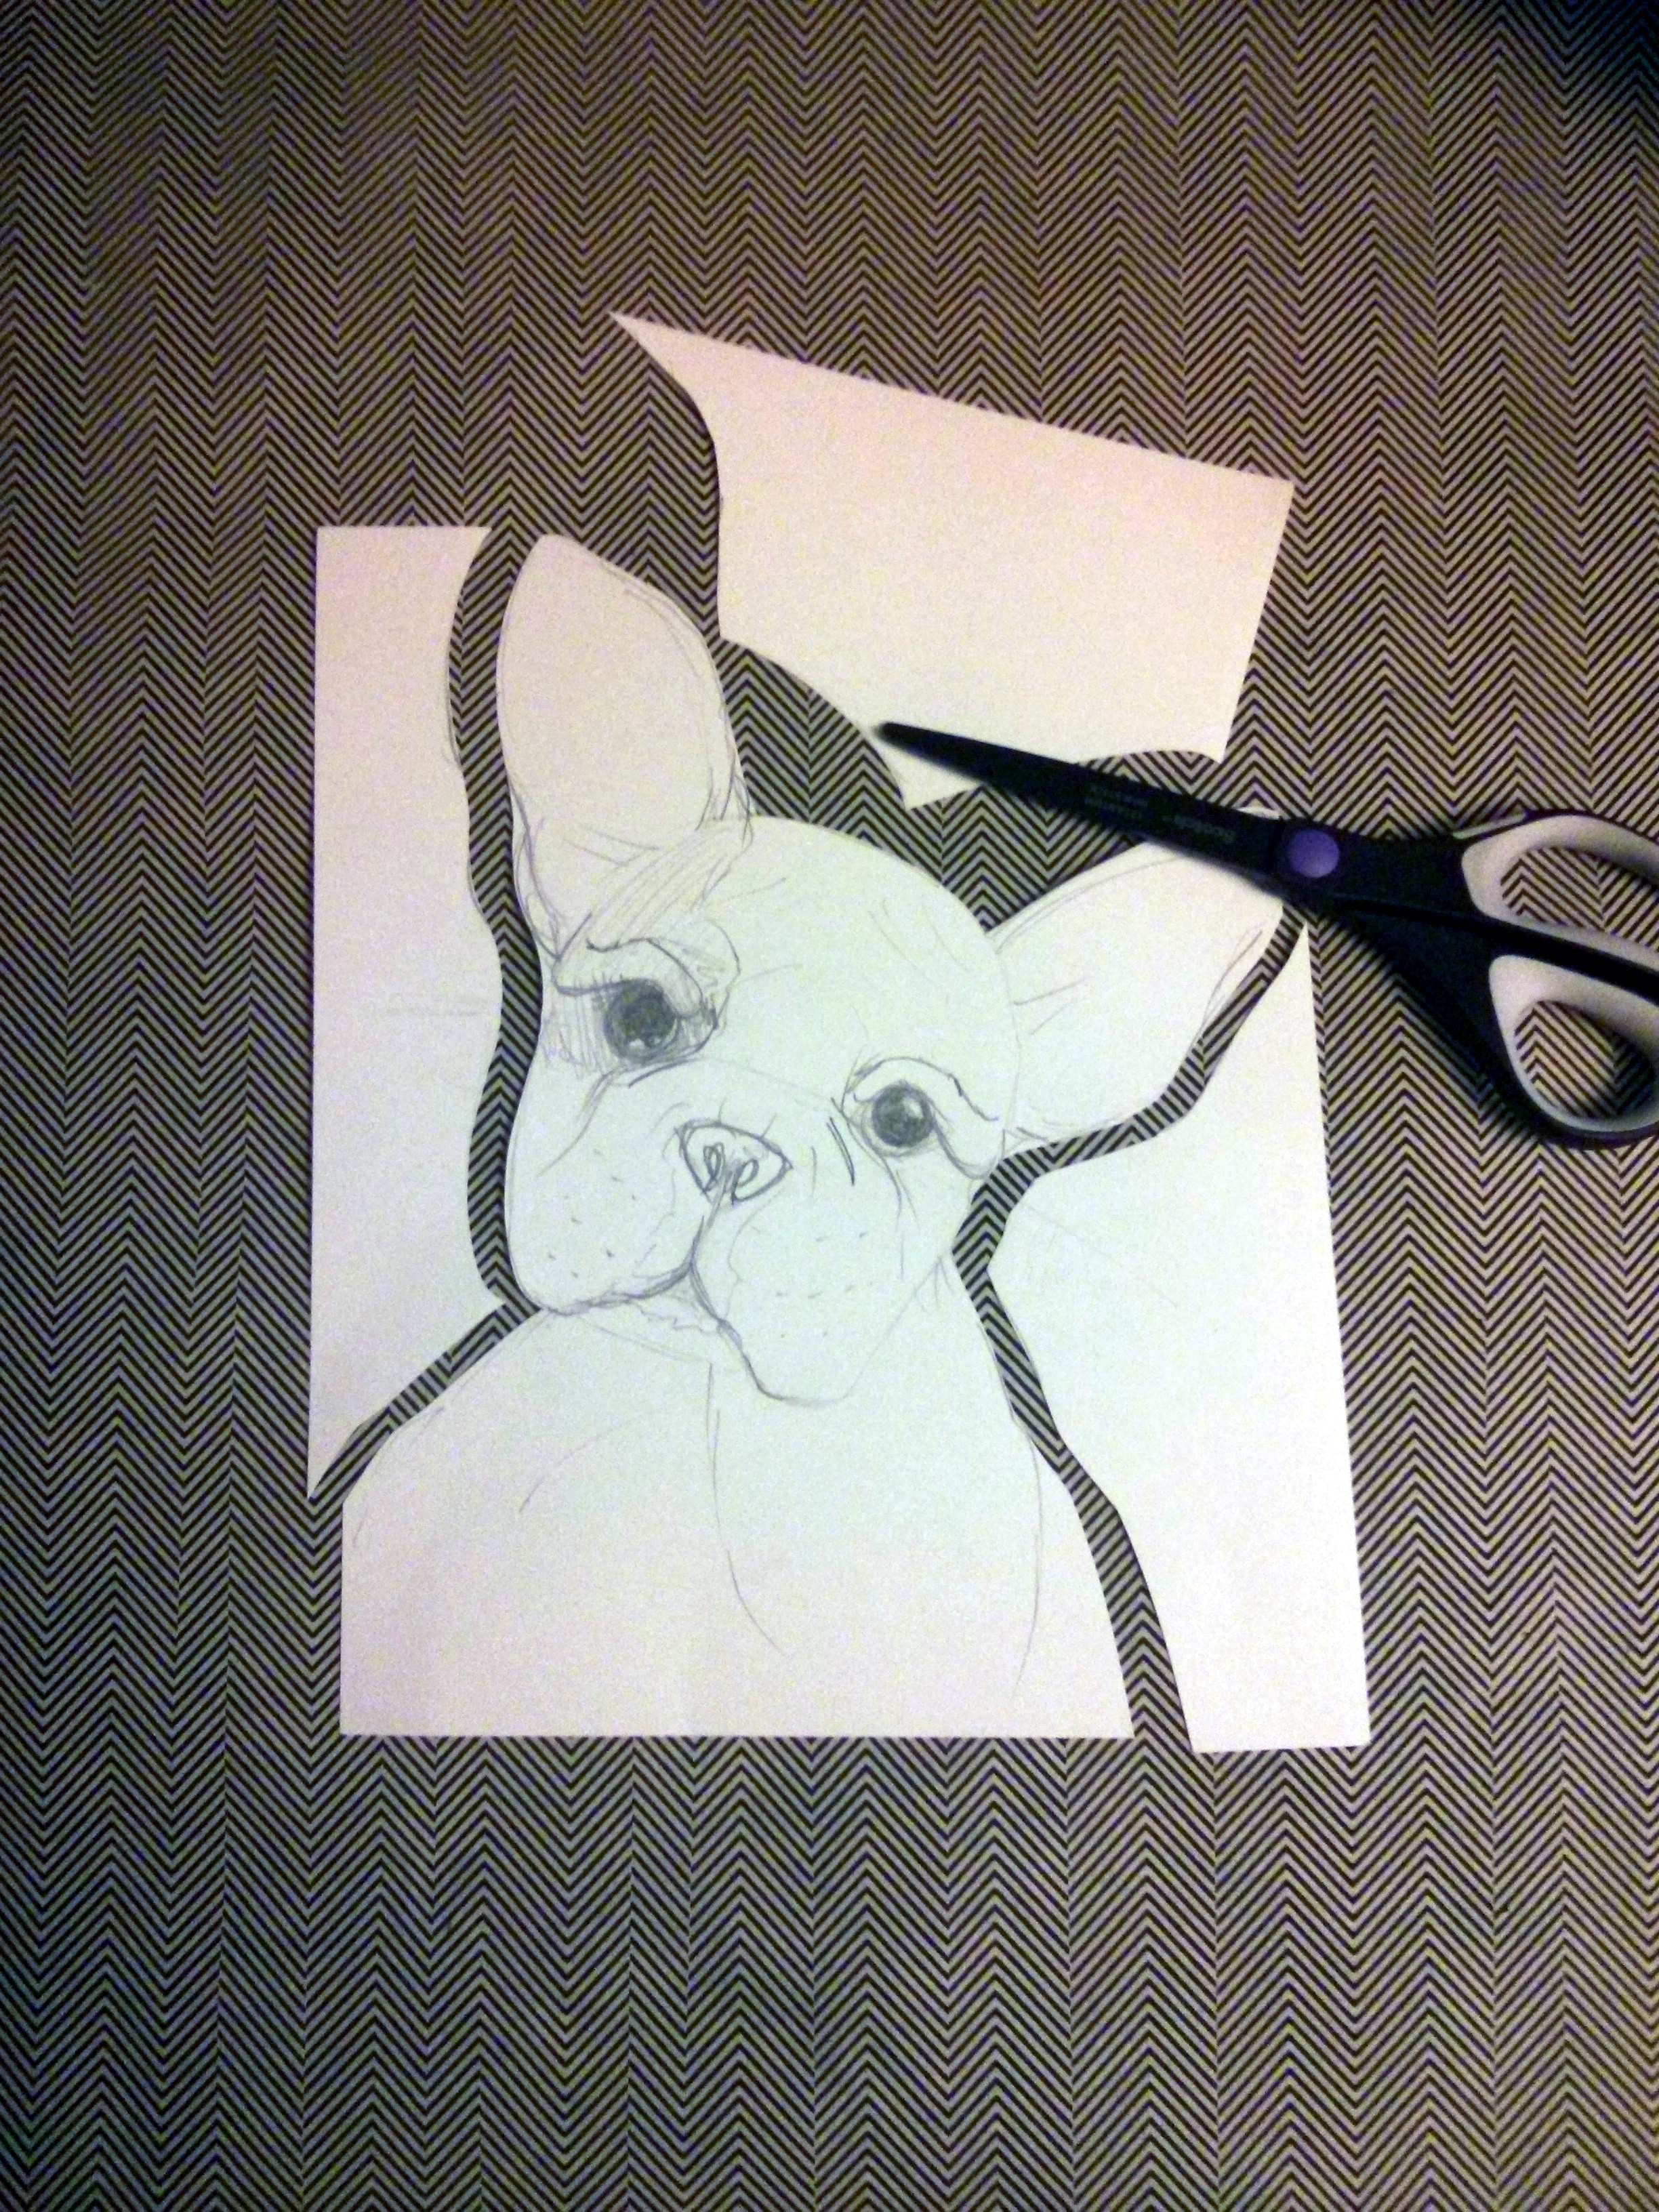
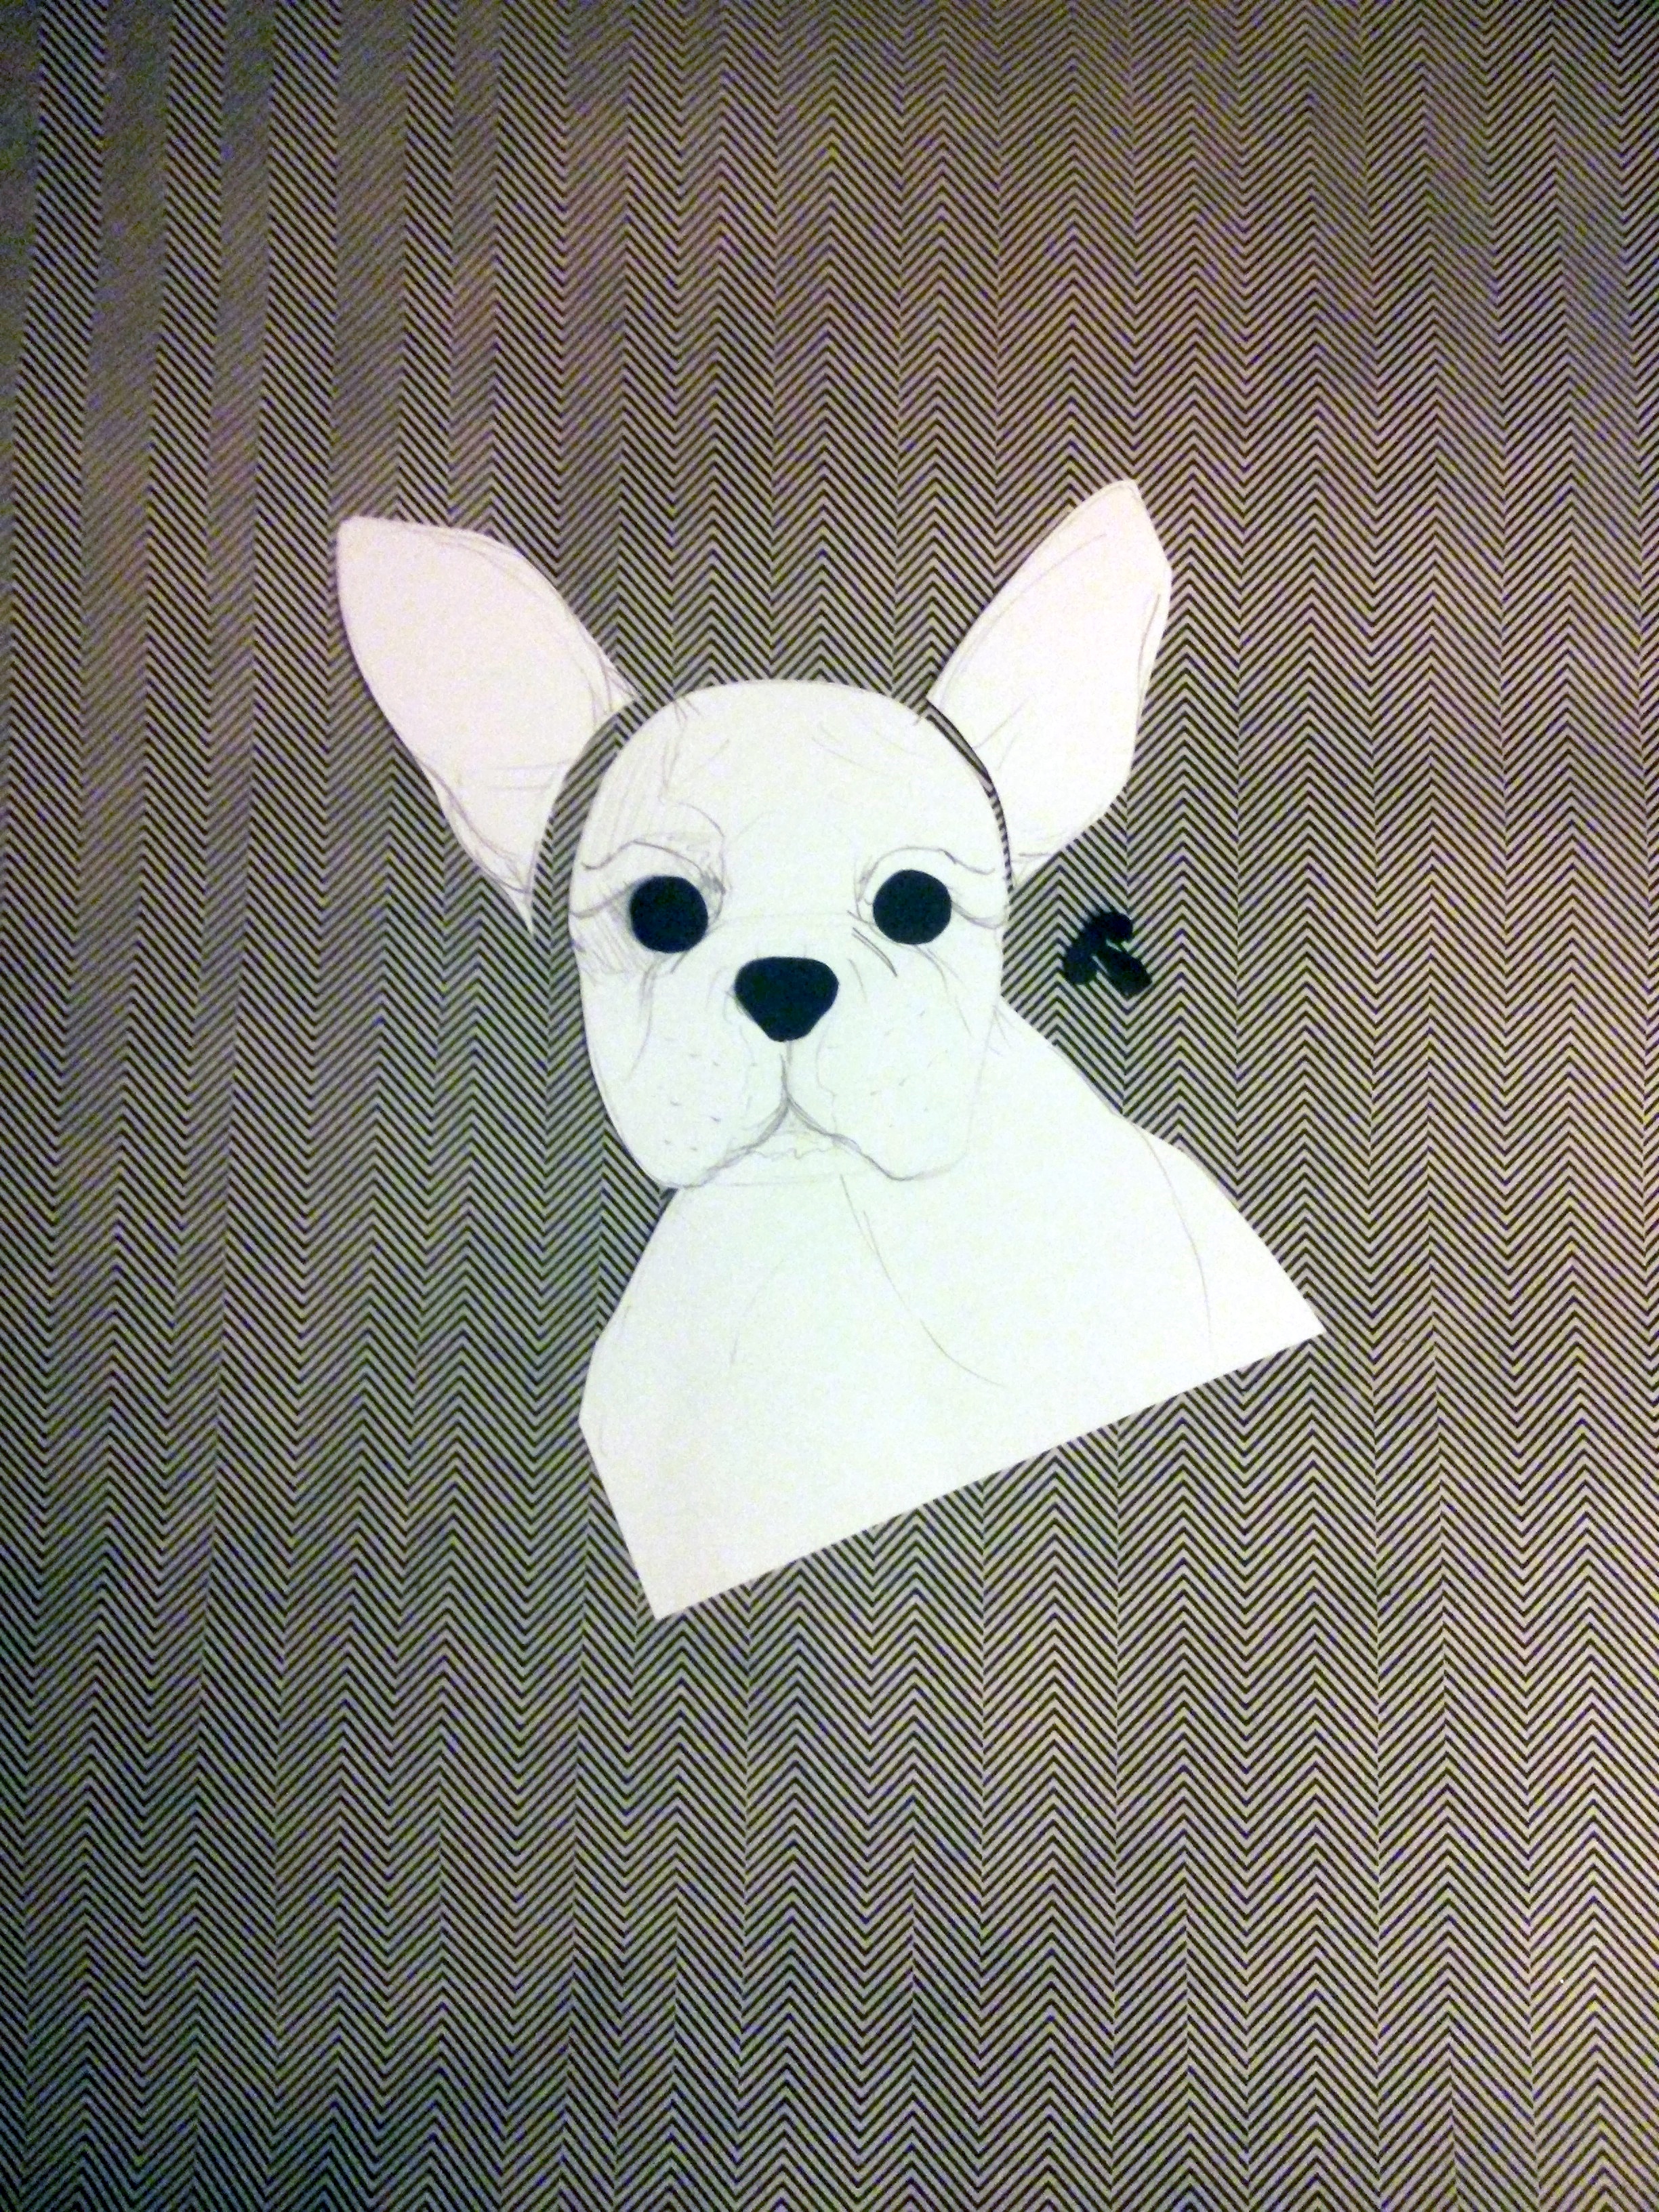
Sketch it!Cut it into sectionsAdd bottom bits that will be covered with layers and layers of paper for depth (creepy puppy face!!)Add details- eyebrows, skin folds to shape the eyes. P.S. that is my most favorite pencil, had it since 2nd grade!!Completed and ready for allergy-free loving
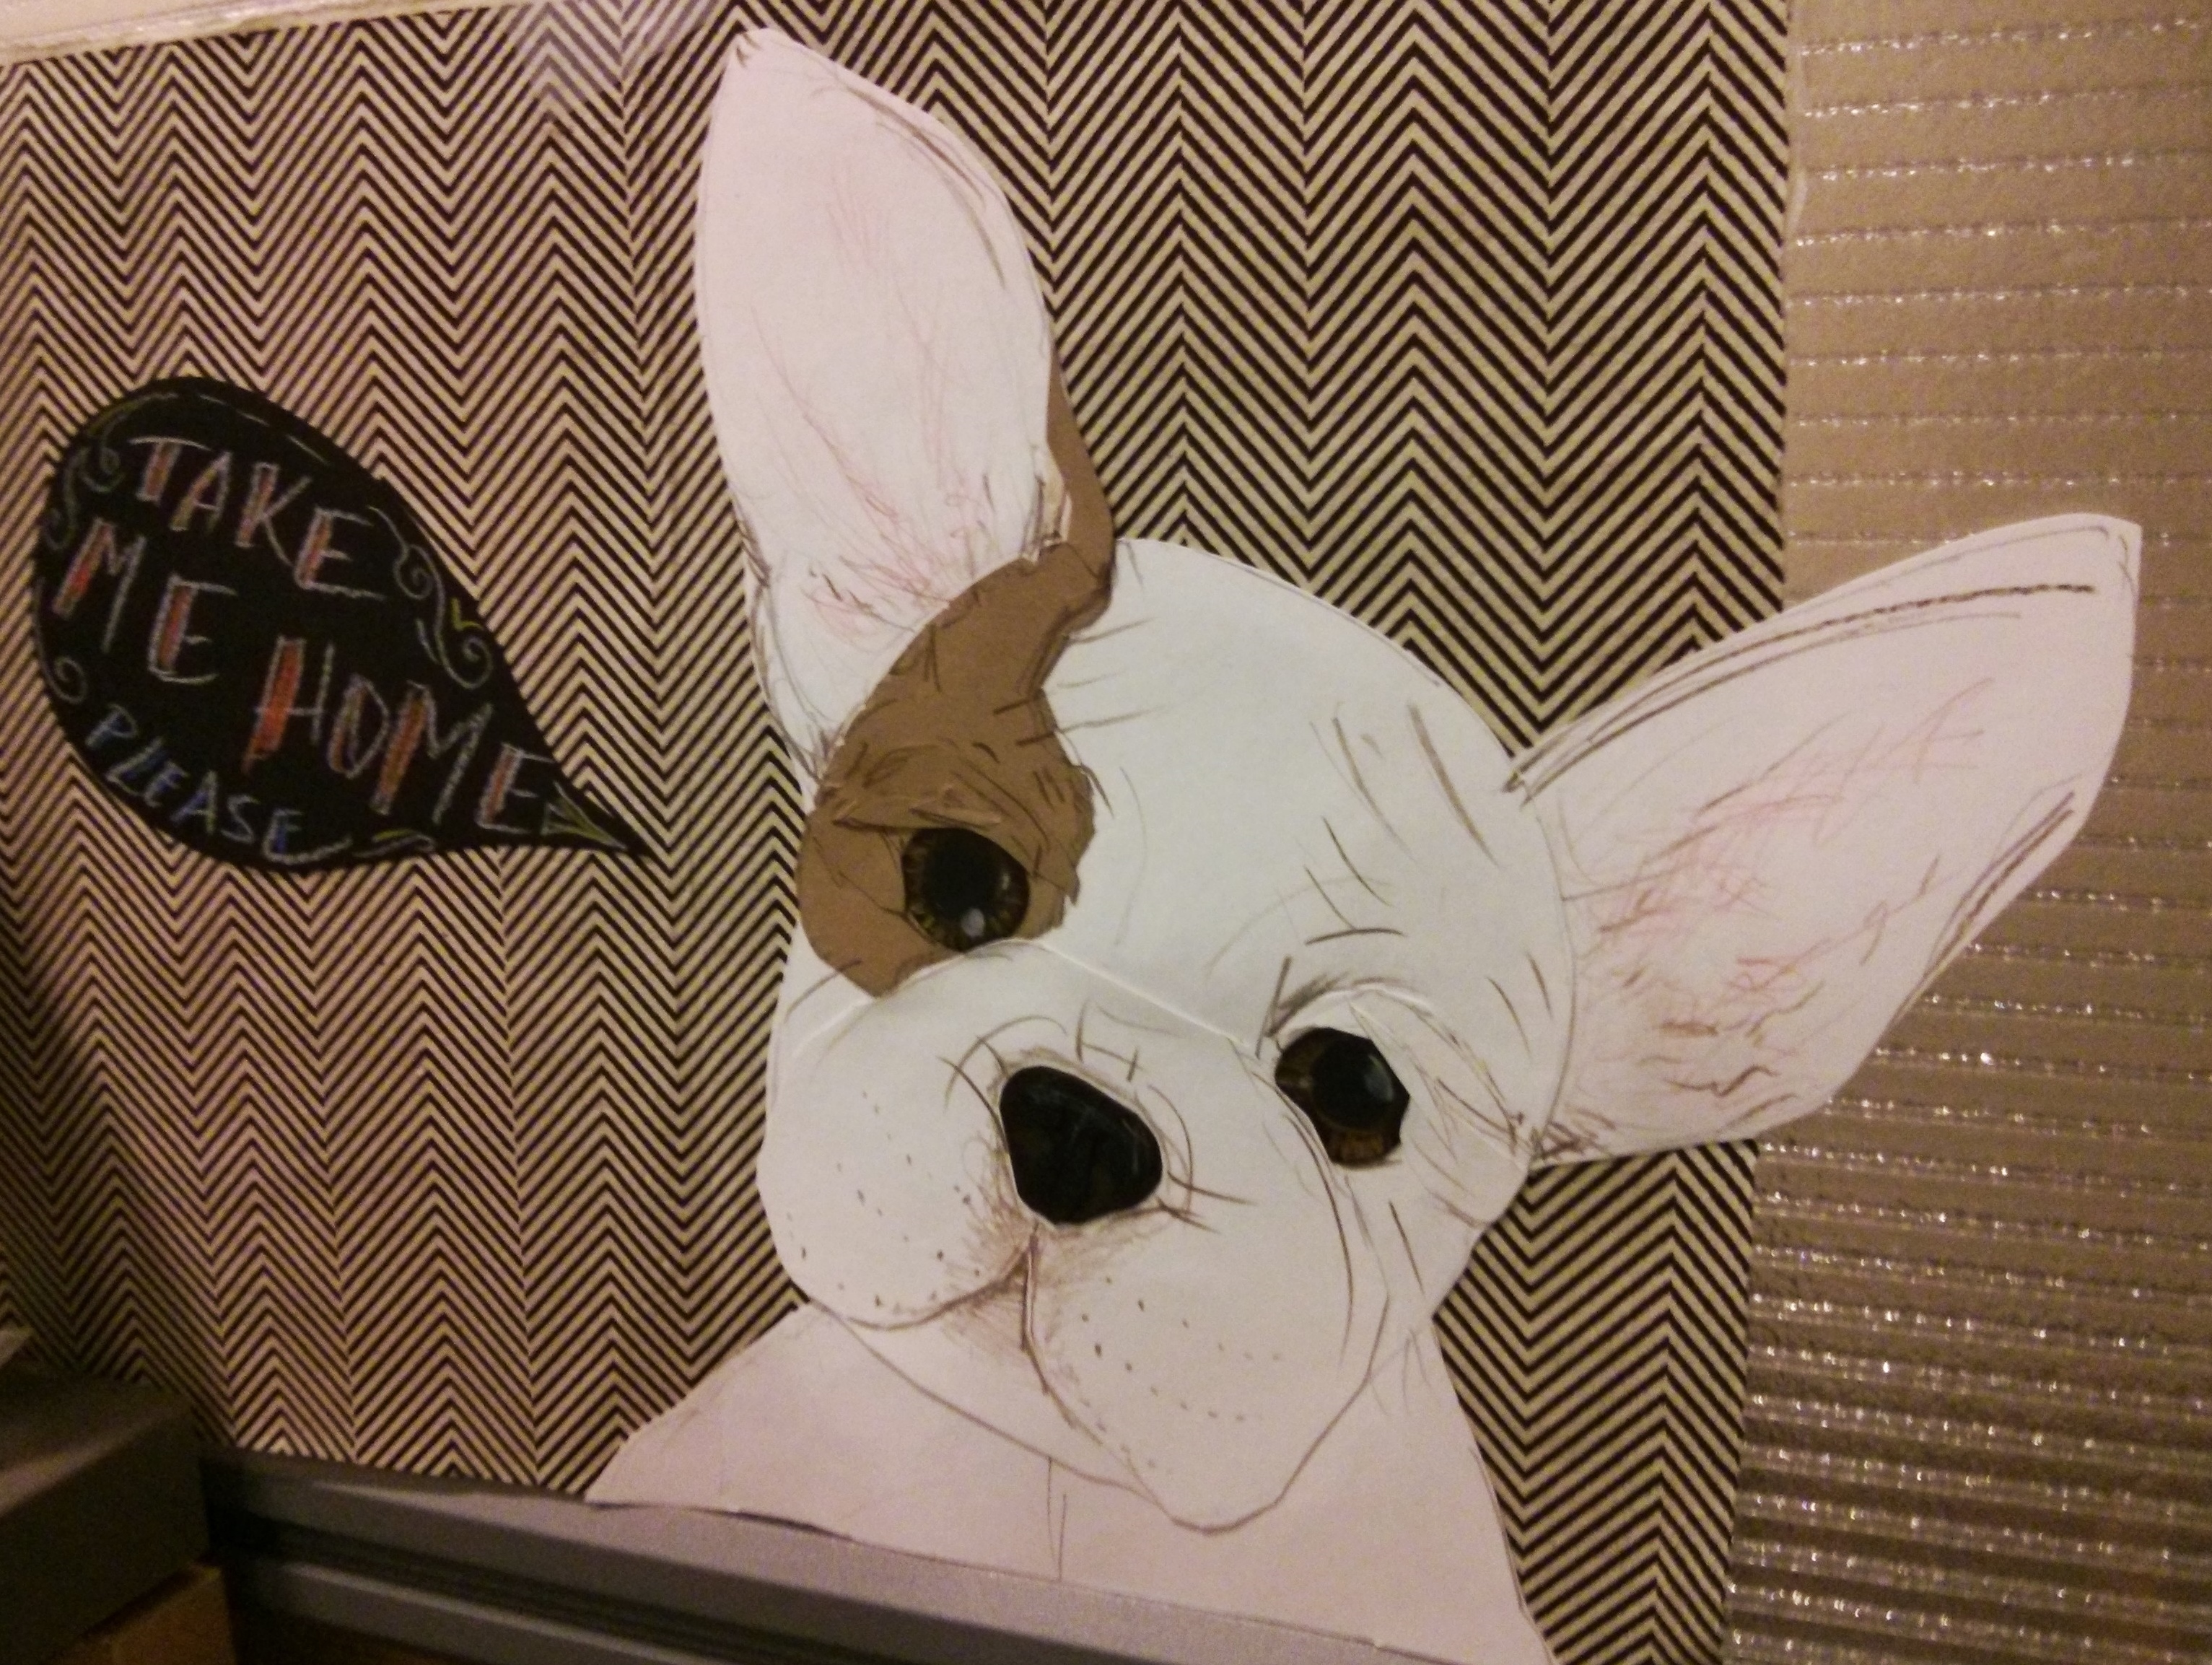
I always add my details in colored pencil/watercolor pencils after the card is assembled. I opted to use brown with orange and yellow highlights to give the eyes life.
Look at those eyes…
I must admit that I have never been very good at figuring where to add the shine on eyeballs…so usually I just guess and hope for the best. * I know my pictures suck. Perhaps I should buy a fancy camera…or maybe I’ll save that cash for these instead. Ya, those…